安装 HomeAssistant
适用于『mac』
安装 UTM 虚拟机
下载 UTM
图1)使用 Debain 镜像
地址:https://cdimage.debian.org/cdimage/archive/12.8.0/arm64/iso-cd/
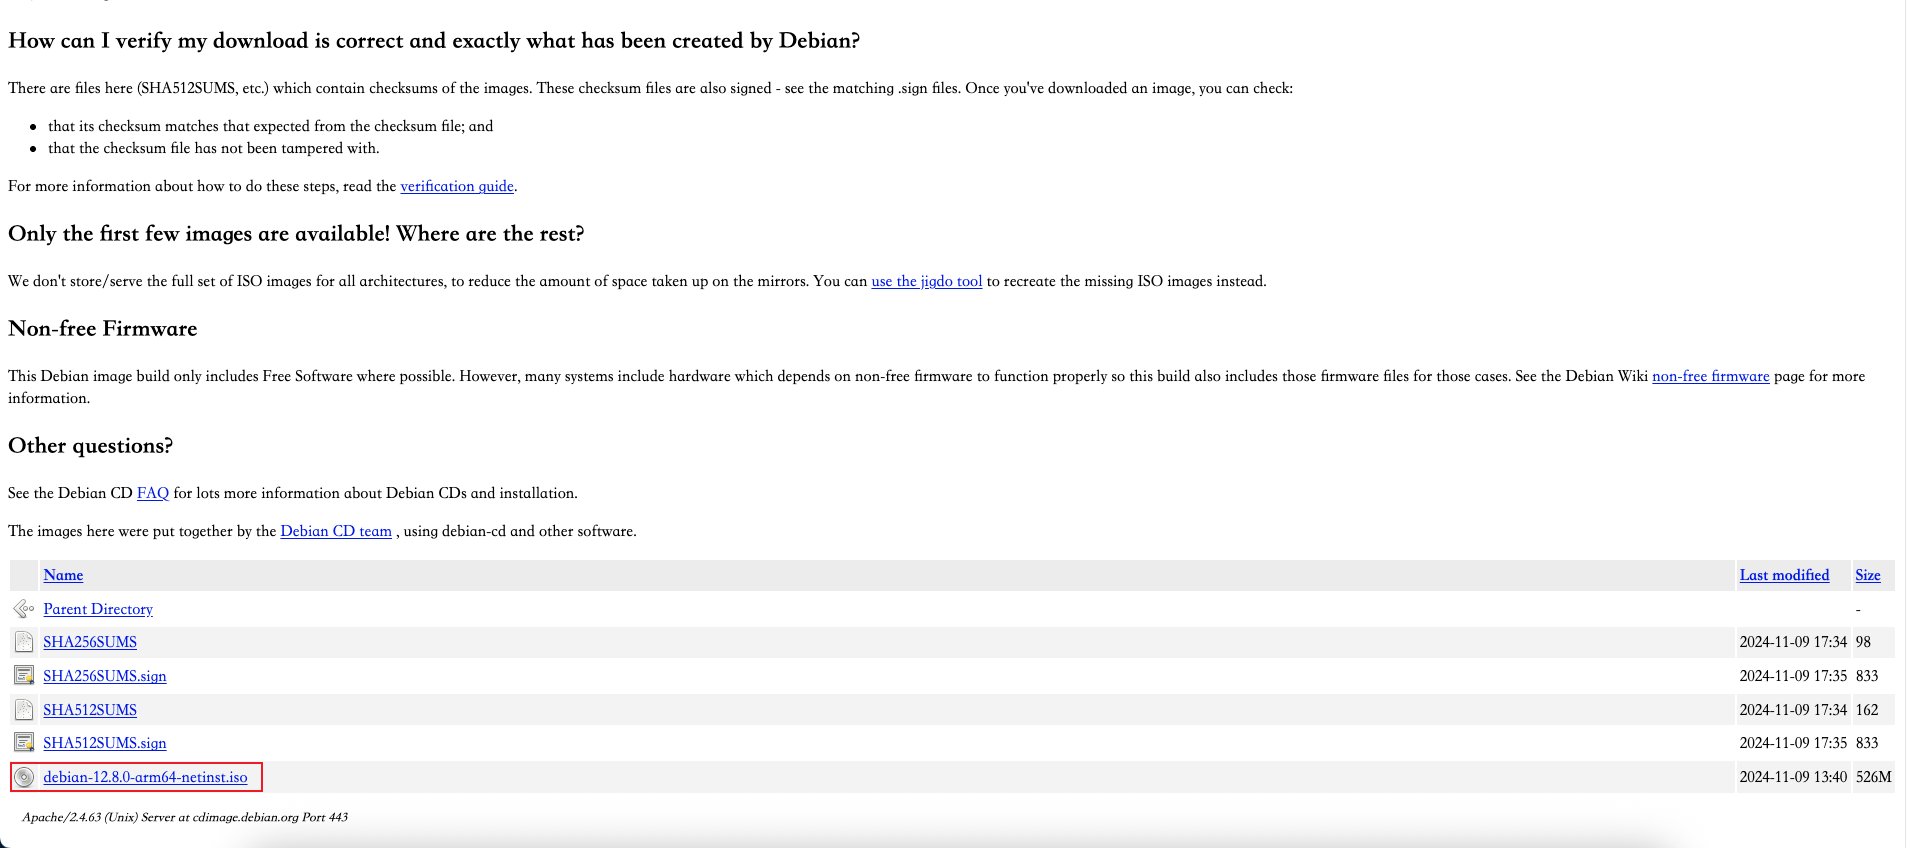
图2)安装过程中所做的任何设置均可在安装完成后根据需要自行修改,因此请勿将安装阶段的配置视为最终的永久设置。
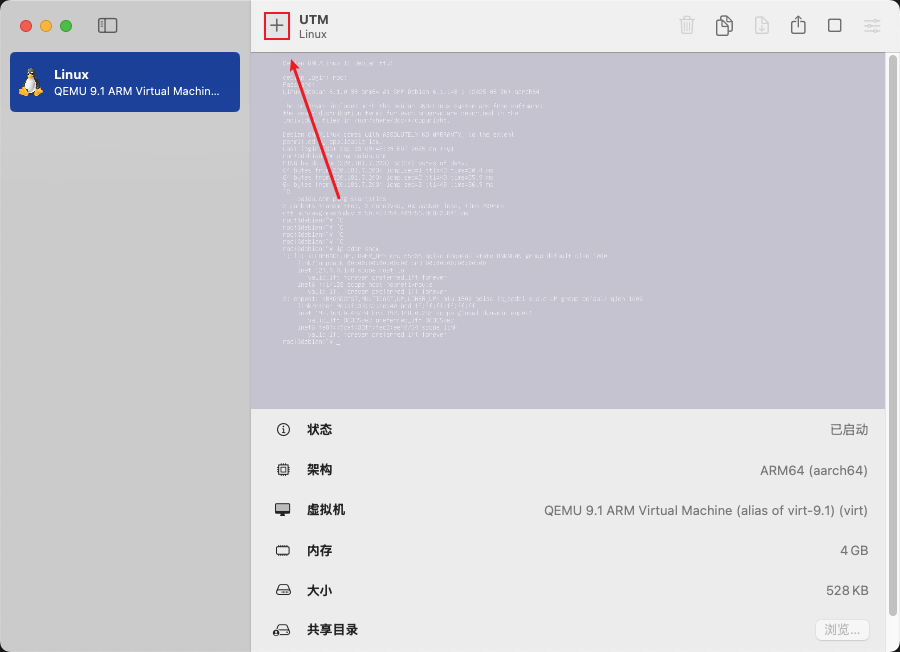
图3)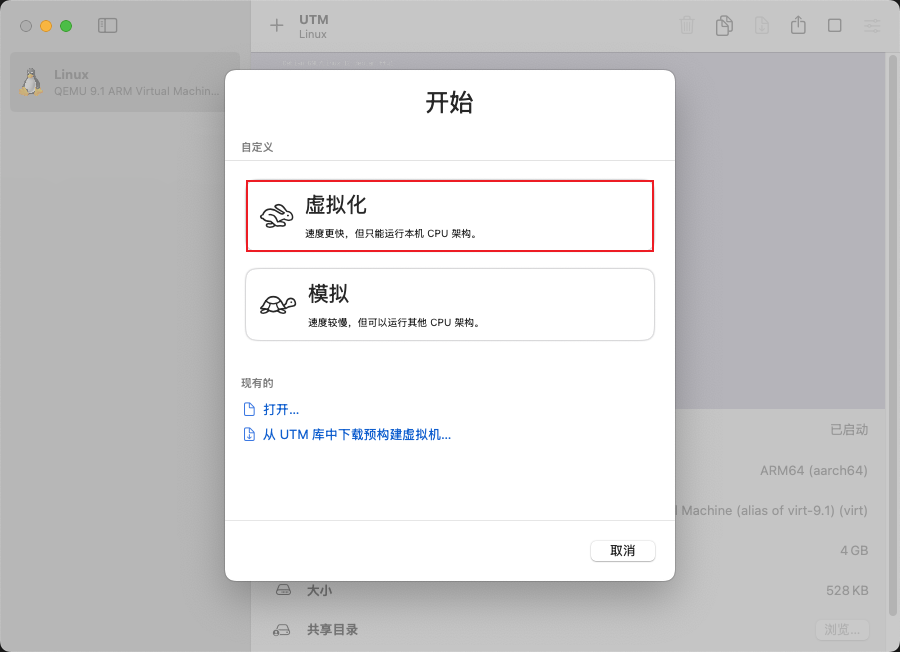
图4)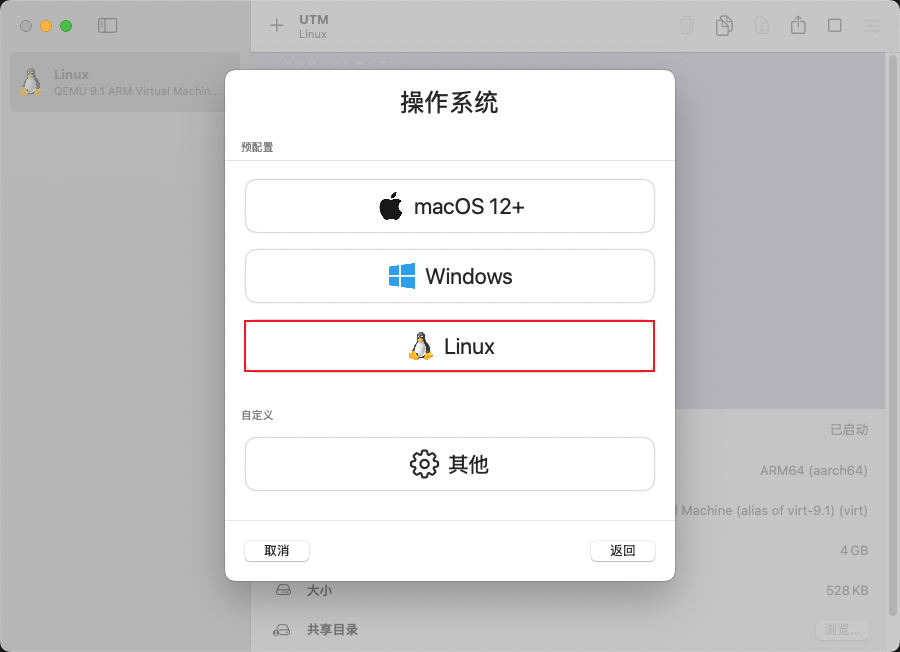
图5)
图6)
图7)
图8)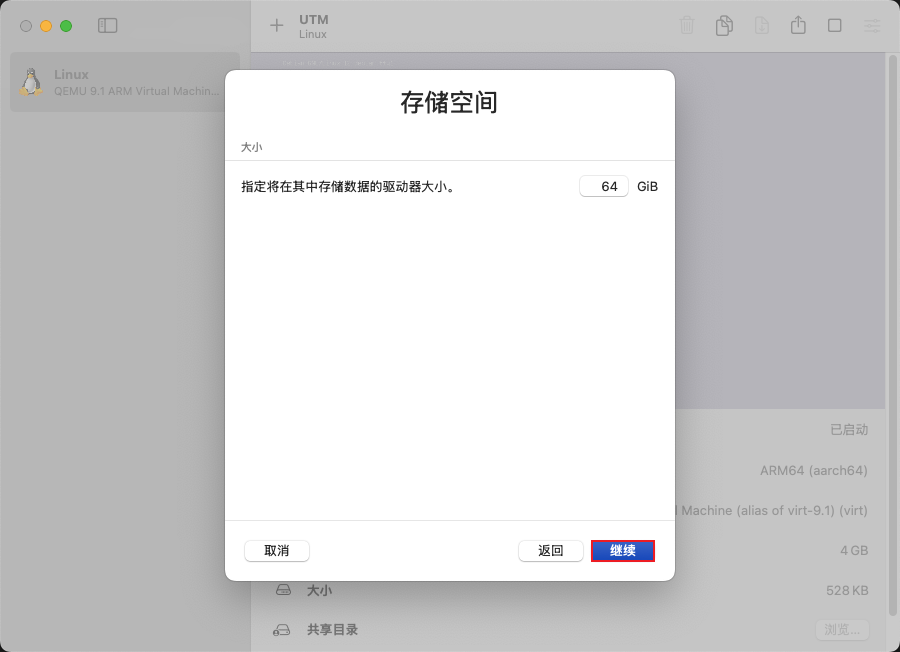
图9)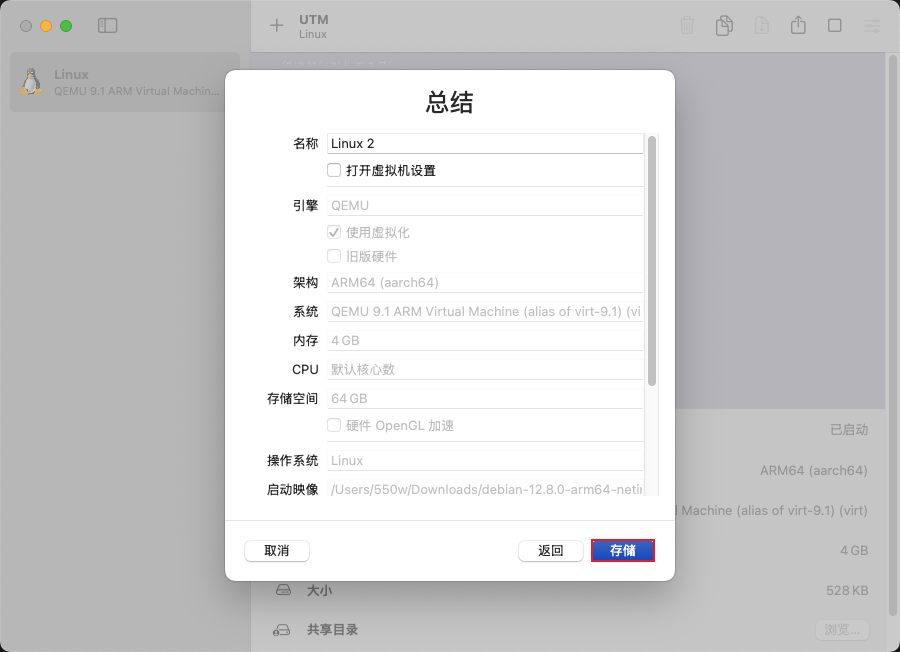
图10)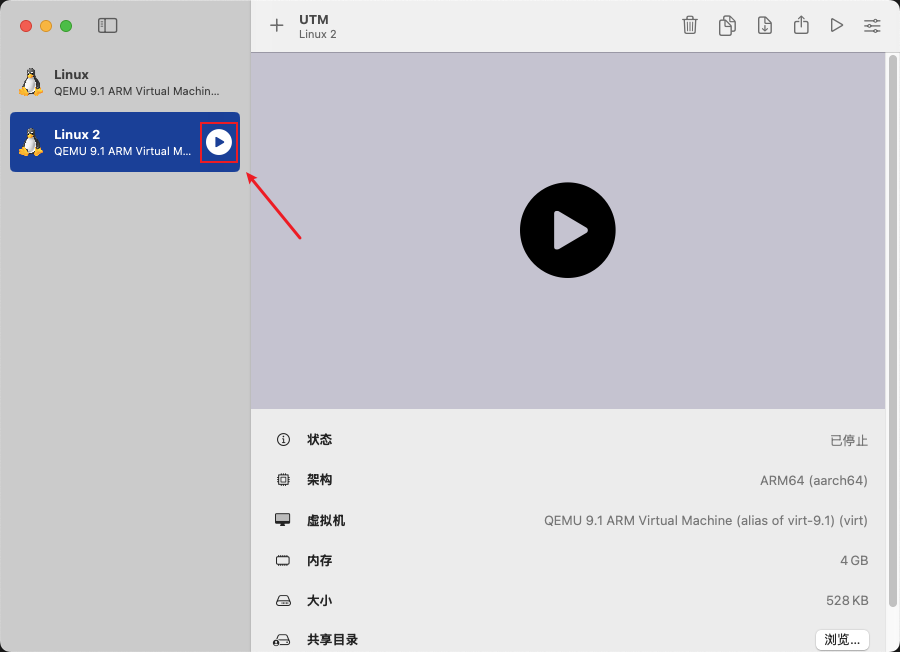
图11)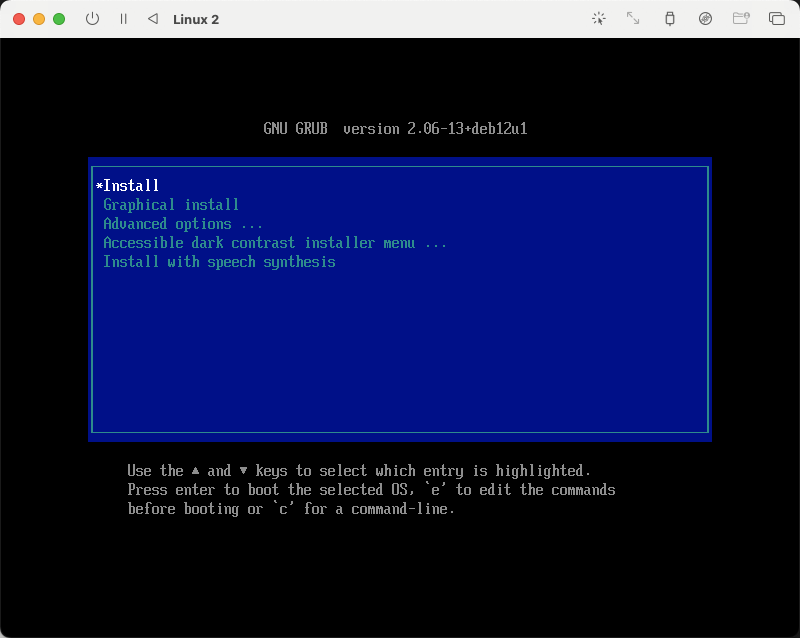
图12)
图13)
图14)
图15)设置主机 hostname,本文设置为 debian,可根据自身习惯或喜好进行设置。
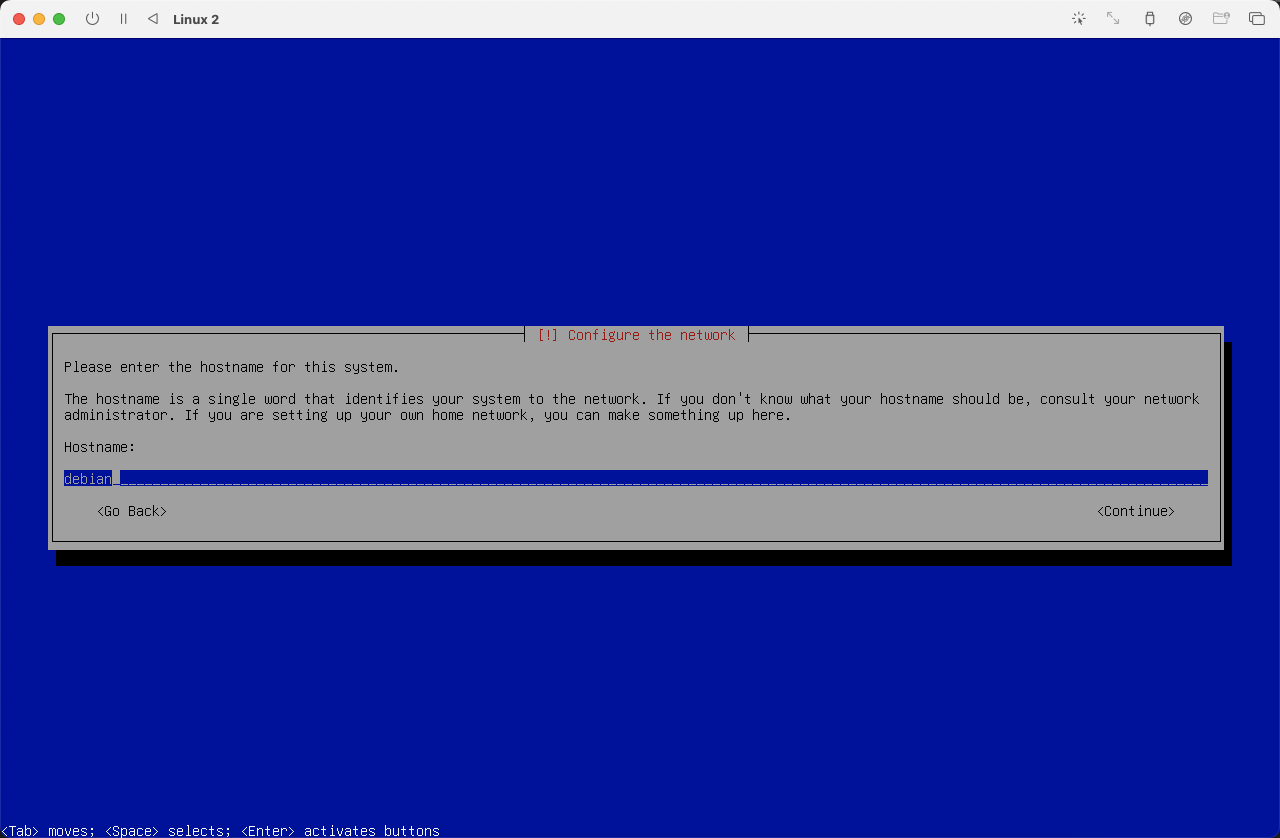
图16)
可以跳过 domain 设置
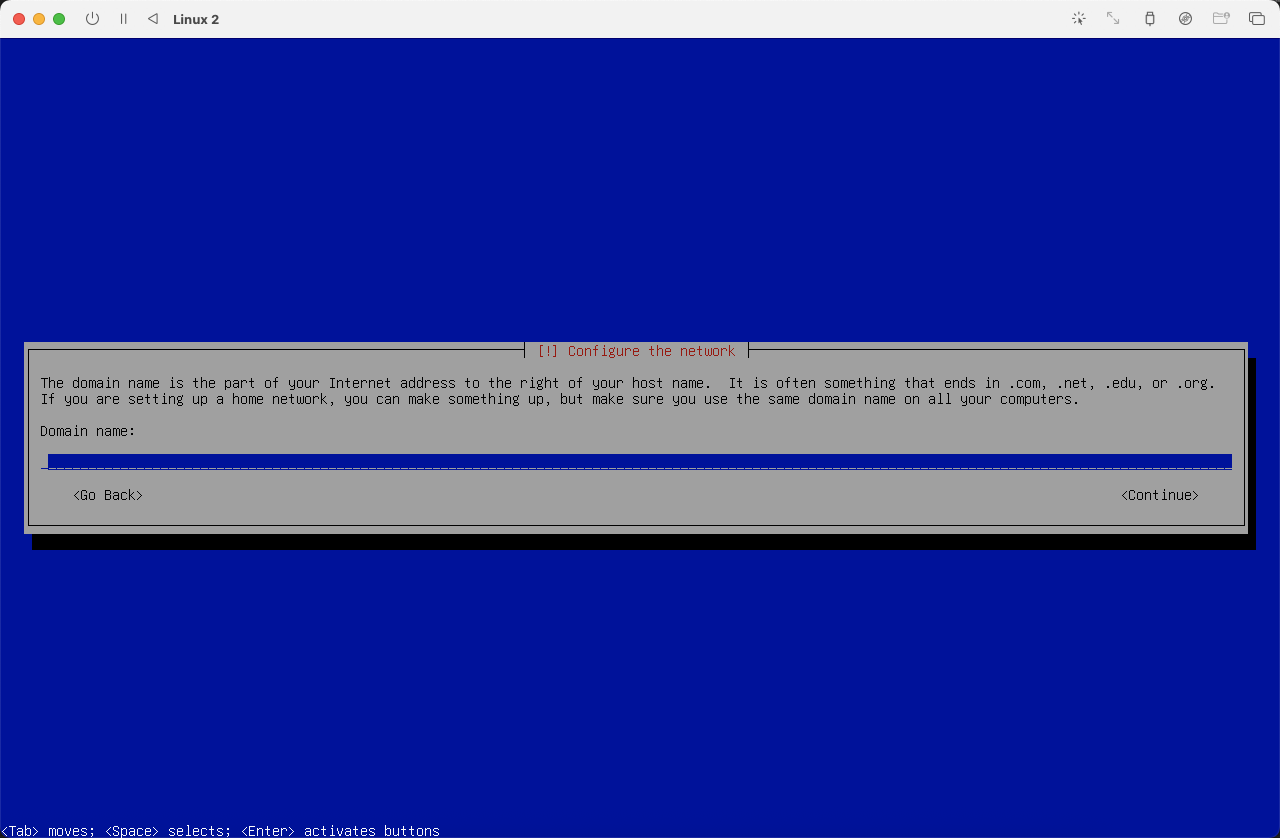
图17)
设置 root 用户密码
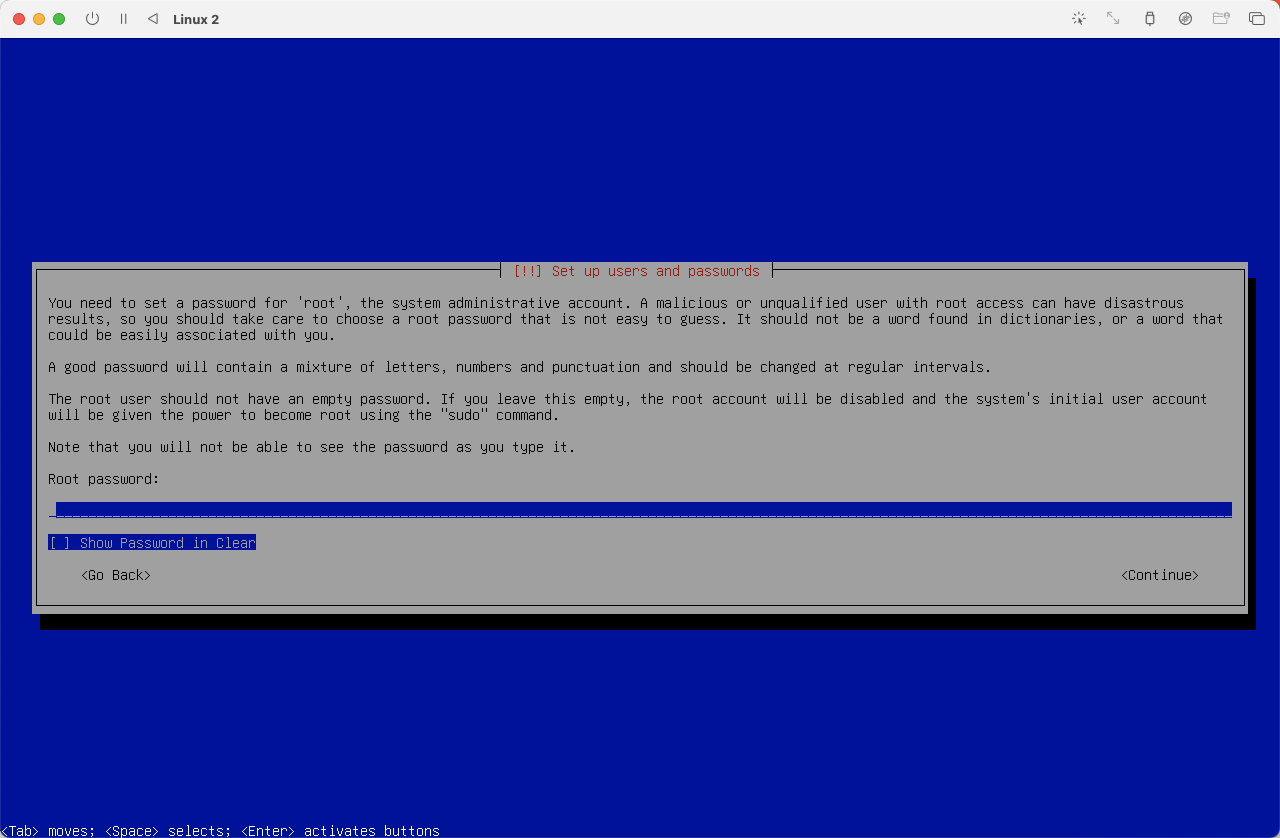
图18)
再次输入确认密码
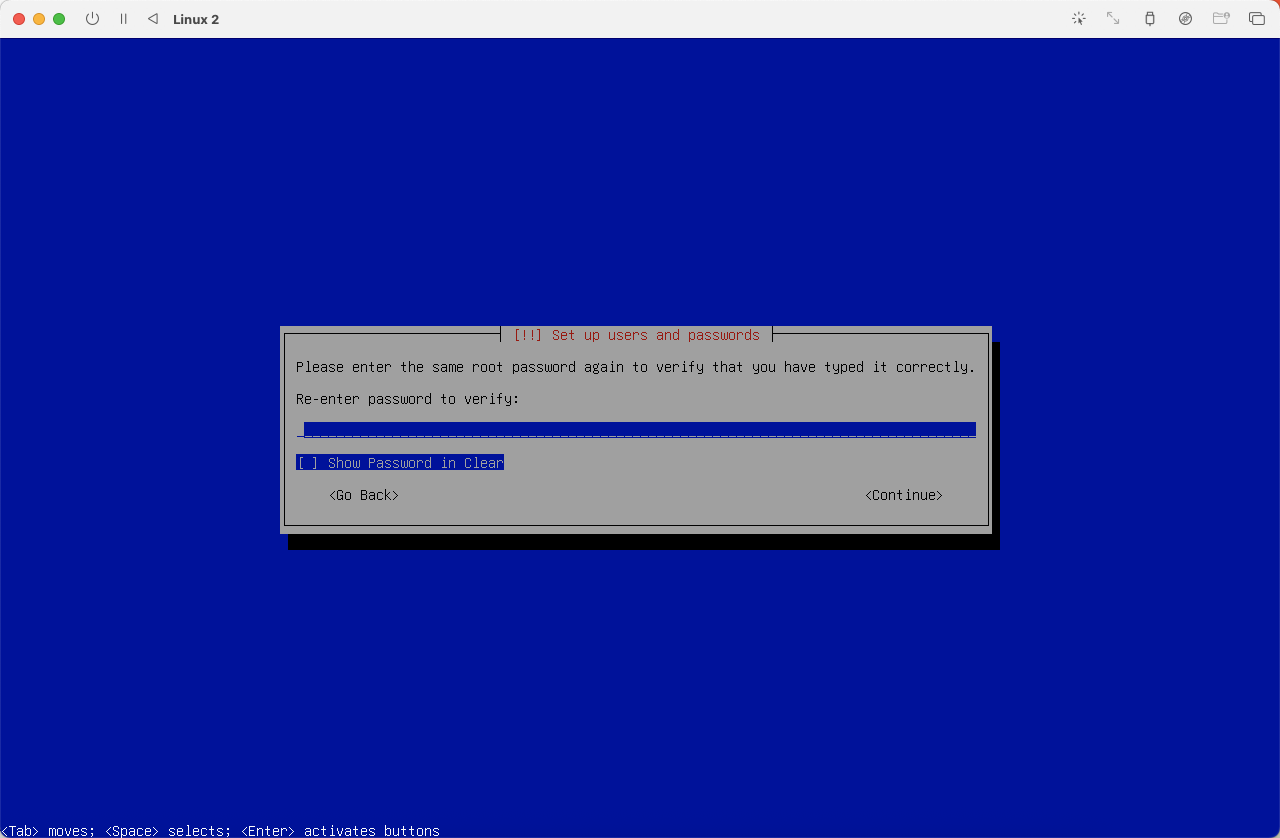
图19)
创建普通用户,本文设置为 piliqiu
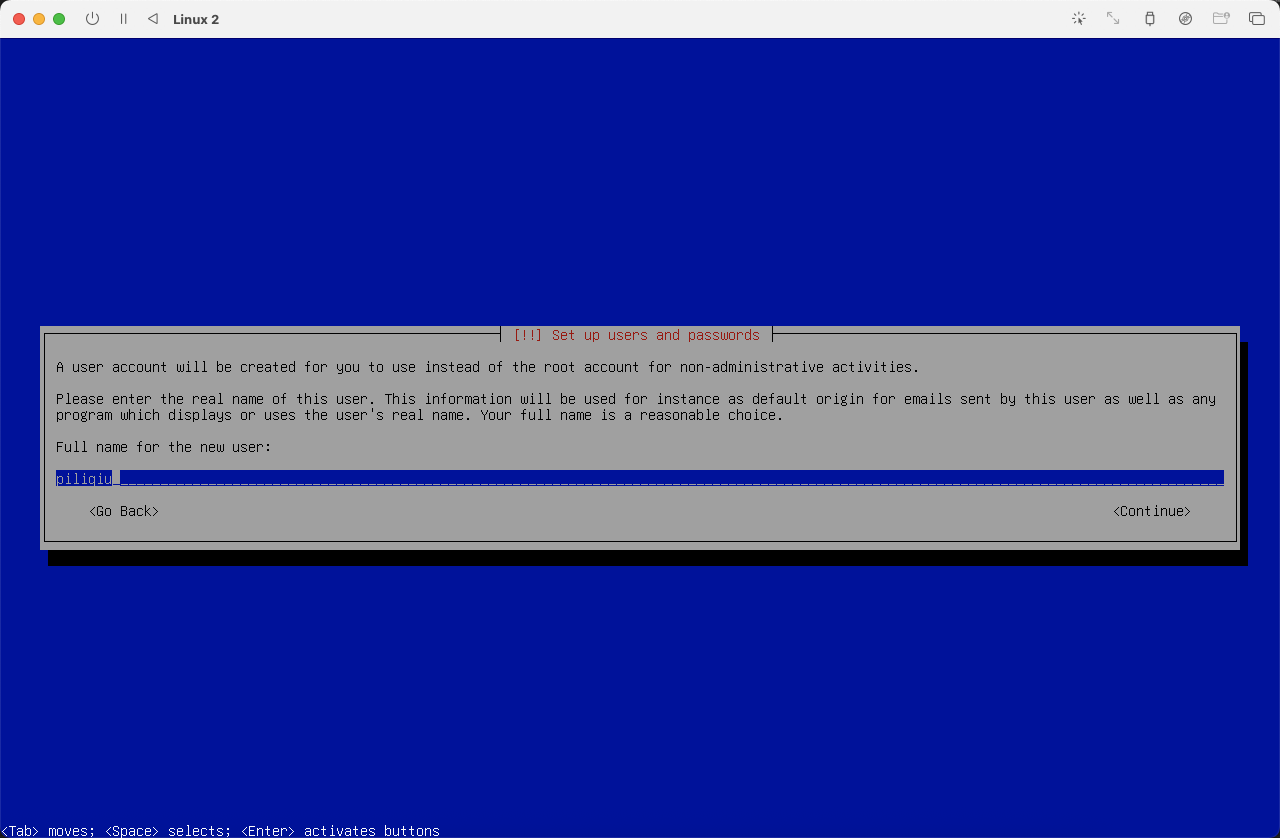
图20)

图21)设置普通用户密码
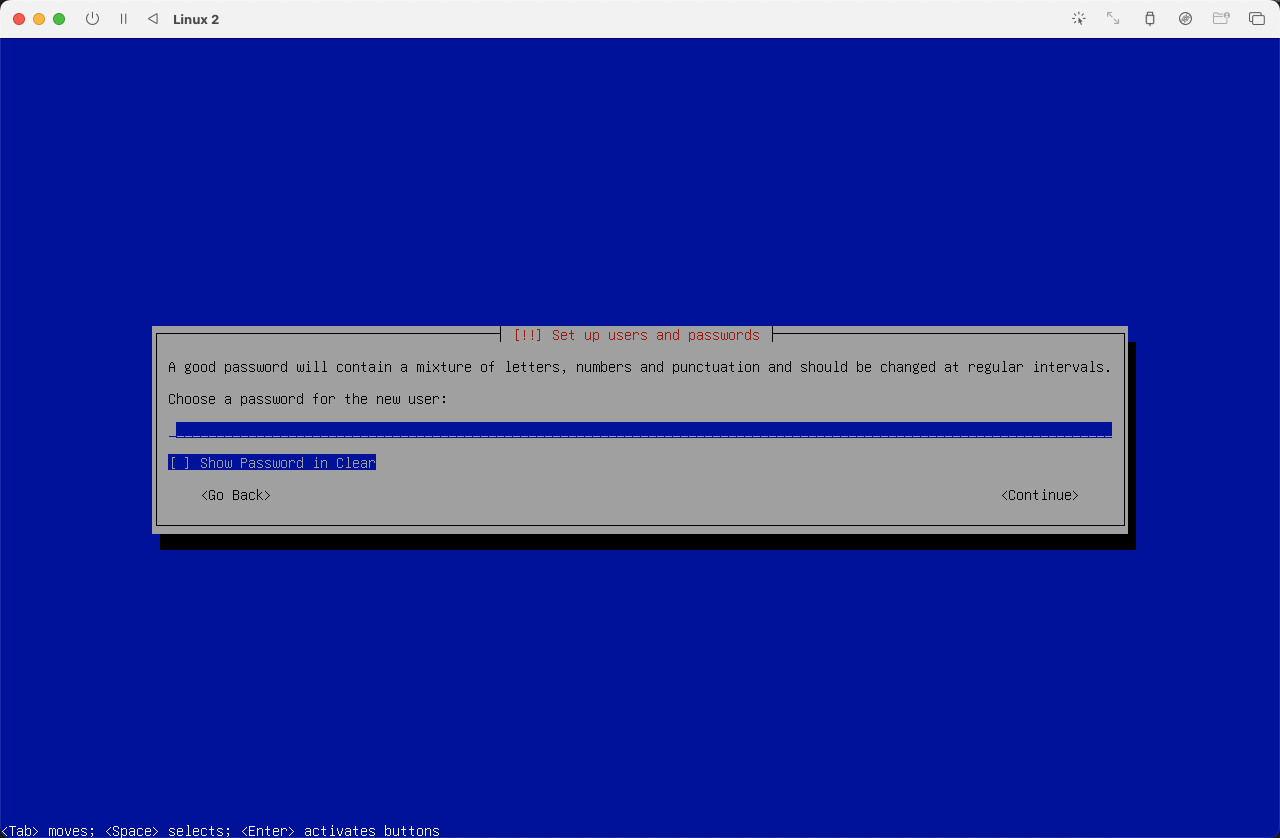
图22)
确认普通用户密码
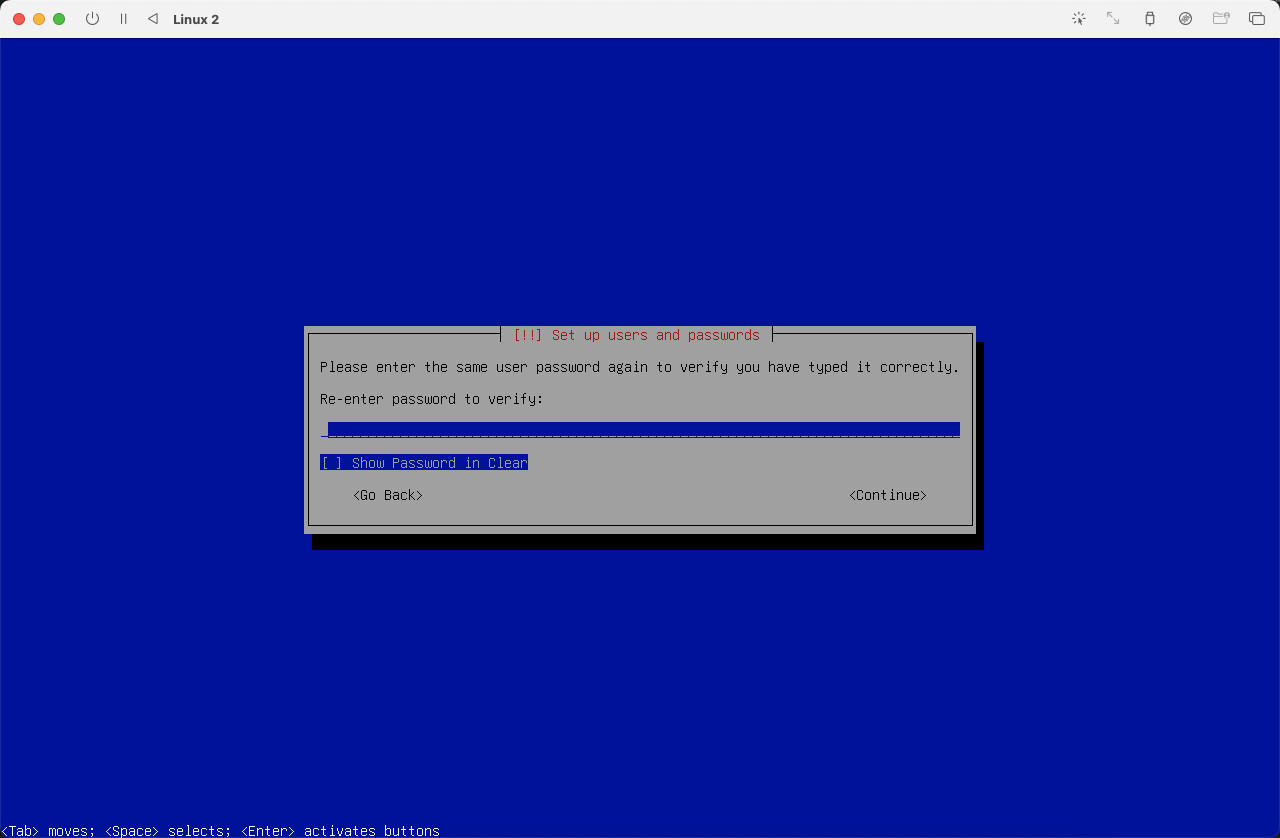
图23)
选择时区,选择 Eastern,系统时区和时间可以在系统安装完毕后自行设置。

图24)
进行硬盘分区,如果自身没有特殊需求默认即可。

图25)

图26)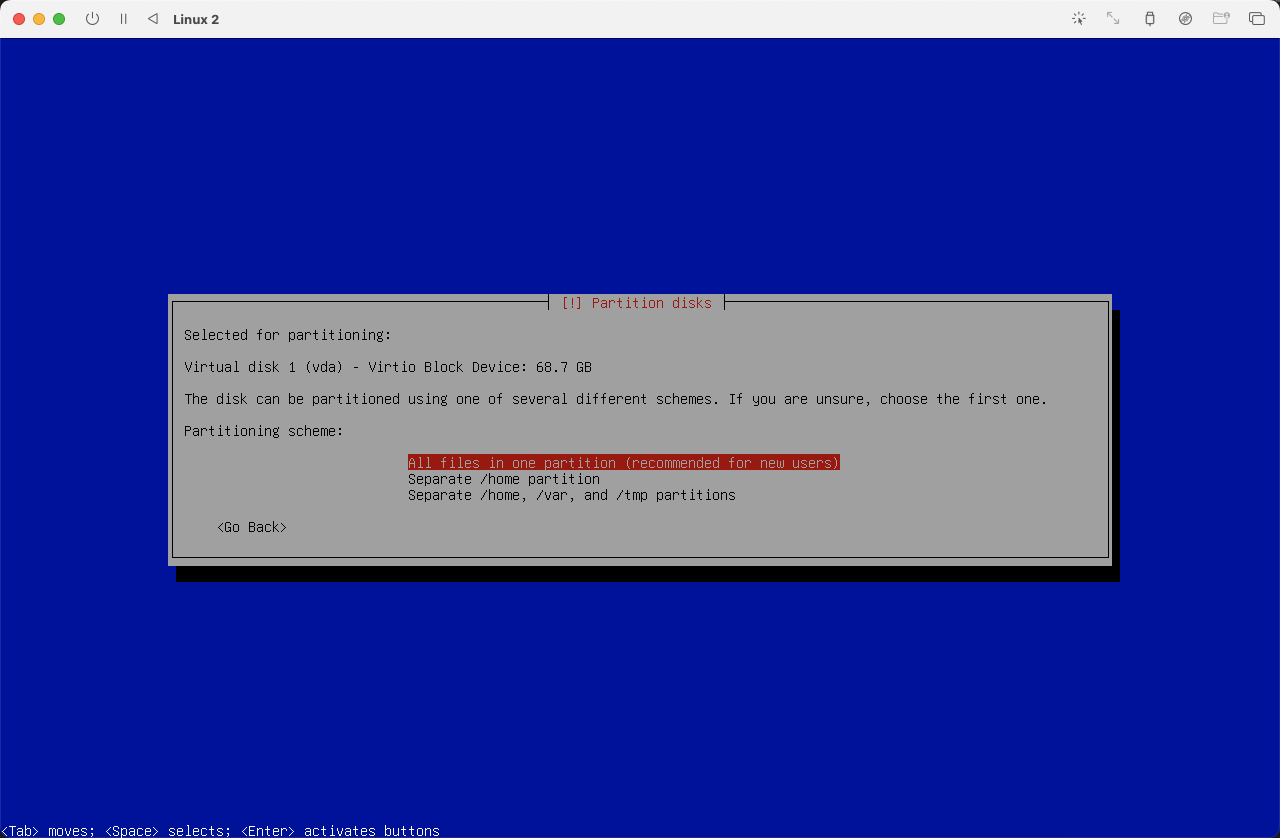
图27)
图28)
图29)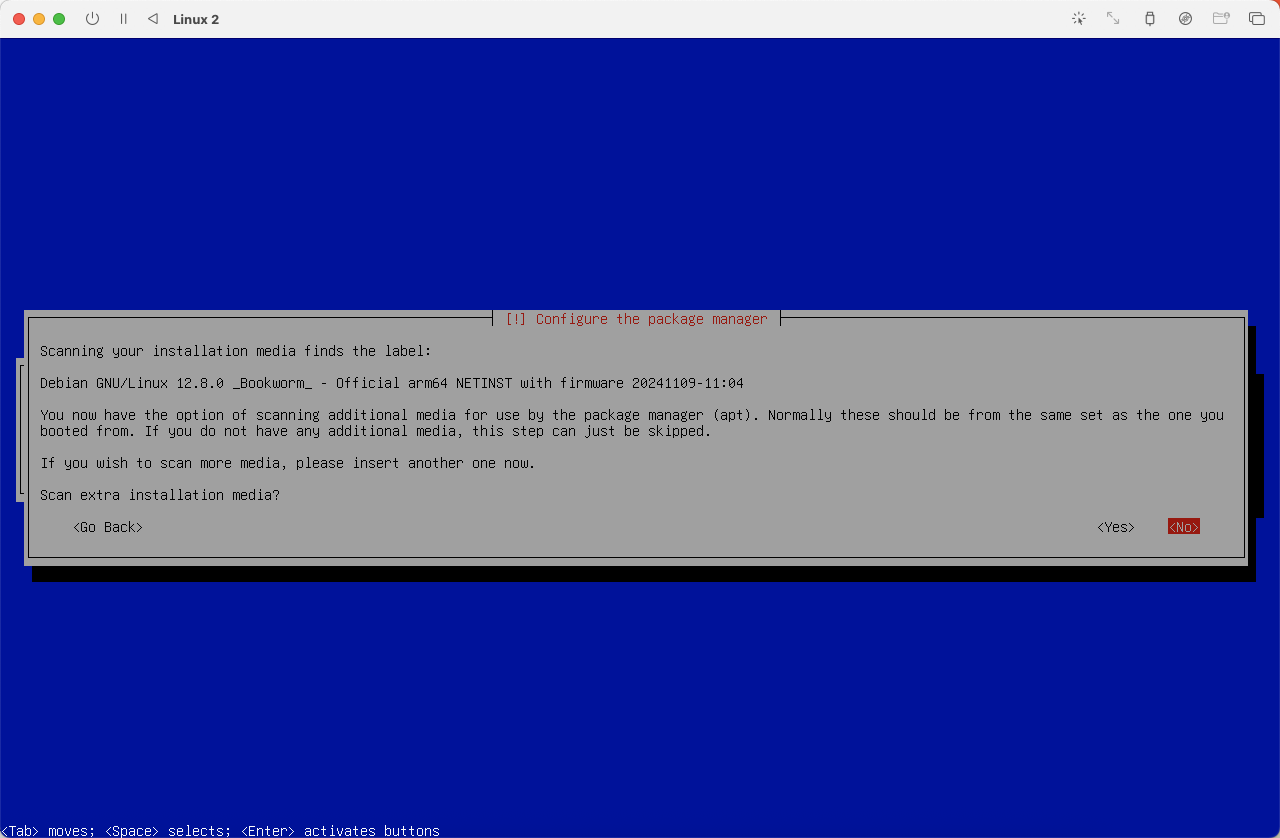
图30)
图31)
图32)
图33)不打算安装图形界面,选择最后一项即可,为了远程方便同时选择了 SSH 组件
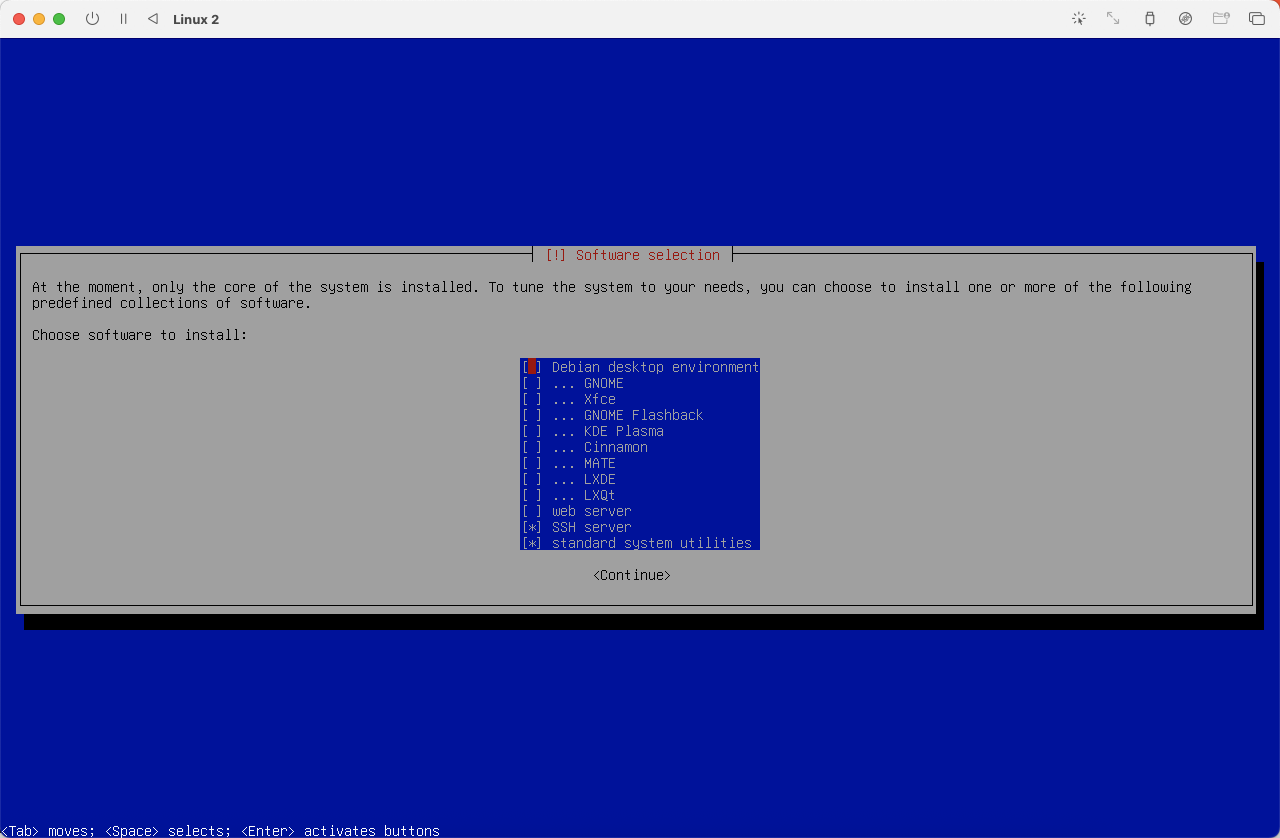
图34)
安装完成重启
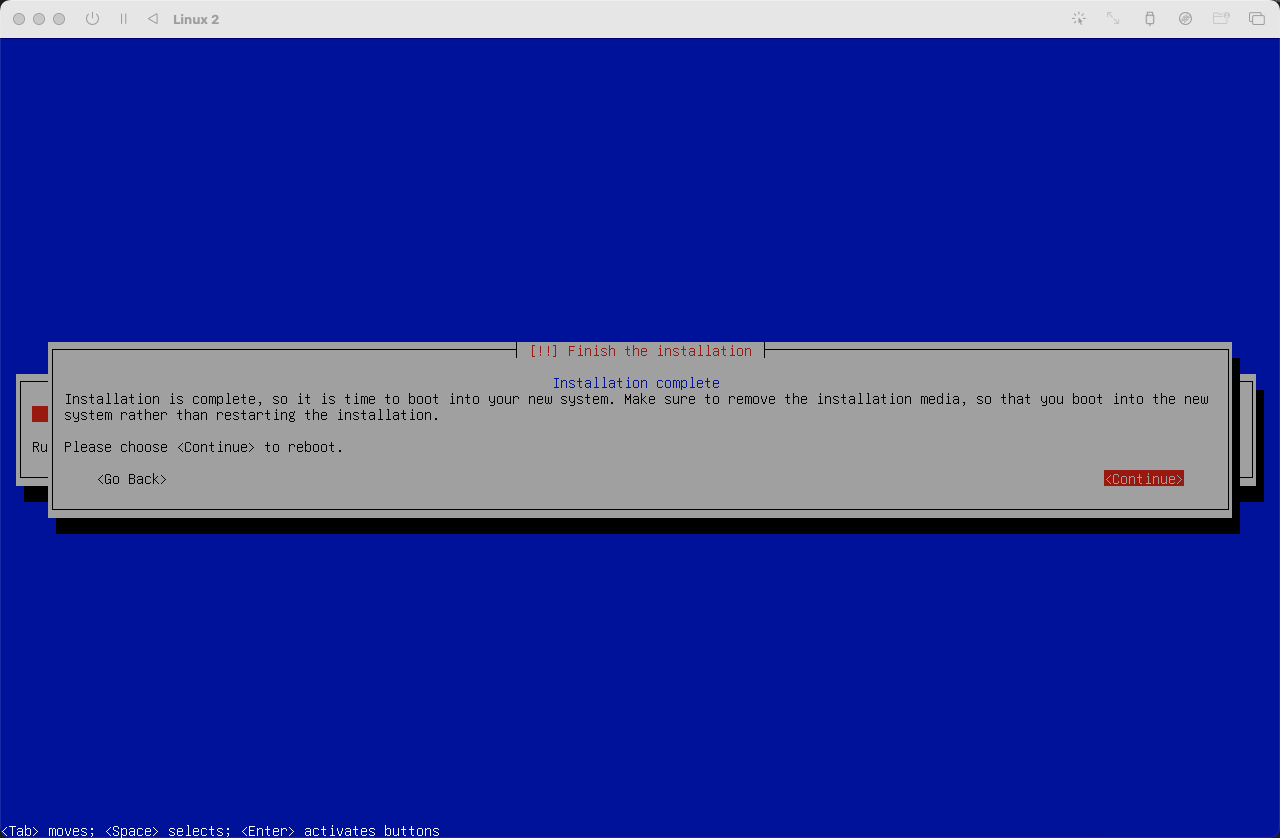
图35)
清除 usb 驱动器,不再使用 usb 中的系统启动,使用已经安装好的系统启动。

图36)

图37)网络改为桥接,桥接接口自己都试试,看那个可以上网,就使用那个接口。

图38)
在
MacOS系统中,无法将复制的内容粘贴到通过UTM虚拟机运行的Debian系统内。目前使用WindTerm通过SSH连接至Debian系统。连接前,通过在
Debian中执行ip addr show命令获取其IPv4地址,再使用SSH工具进行远程连接。
安装 Docker 环境
通过 Docker 的 APT 仓库安装
在开始前,先设置代理
1
2
3
# 只在本次会话生效 export http_proxy=http://IP:端口 export https_proxy=http://IP:端口
查看 Codename
|
|
📌 关键点:你需要记住 Codename(如 bookworm, bullseye),这是添加 Docker 软件源时要用到的。
常见 Debian 版本代号对照表
| Debian 版本 | 代号(Codename) |
|---|---|
| Debian 12 | bookworm |
| Debian 11 | bullseye |
| Debian 10 | buster |
安装必要依赖工具
|
|
解释:
- ca-certificates: 用于 HTTPS 证书验证
- curl: 下载文件
- gnupg: 导入 GPG 密钥
- lsb-release: 获取发行版信息
Docker 官方 GPG 公钥
创建密钥环目录并导入密钥:
|
|
添加 Docker 的 APT 软件源
使用前面查到的 Codename(比如 bookworm)来构建源地址。
执行以下命令(自动获取 codename):
|
|
如果你是 Debian 12 (bookworm),这条命令就会写入:
|
|
再次更新 APT 包索引
|
|
因为我们刚刚添加了新的软件源,必须重新加载。
安装 Docker 引擎及相关组件
|
|
各组件说明:
| 组件 | 作用 |
|---|---|
| docker-ce | Docker 社区版主程序 |
| docker-ce-cli | Docker 命令行工具 |
| containerd.io | 容器运行时 |
| docker-buildx-plugin | 支持多平台构建 |
| docker-compose-plugin | 提供 docker compose 命令(v2) |
验证 Docker 是否安装成功
检查版本:
|
|
正常输出类似:
|
|
安装 Homeassistant
|
|
📌 记得替换 /PATH_TO_YOUR_CONFIG 为你的实际配置路径,例如:
|
|
安装后,访问
http://ip:8123打开HomeAssistant初始化页面,我用Chrome浏览器打不开,换成Safari浏览器就可以,很奇怪。解决:设置 -> 隐私与安全性 -> 本地网络 -> Google Chrome