Mac 上使用 ComfyUI 运行 Flux 指南
安装 ComfyUI
ComfyUI 文档使用 Conda 创建一个环境
|
|
克隆代码仓库
|
|
安装 PyTorch
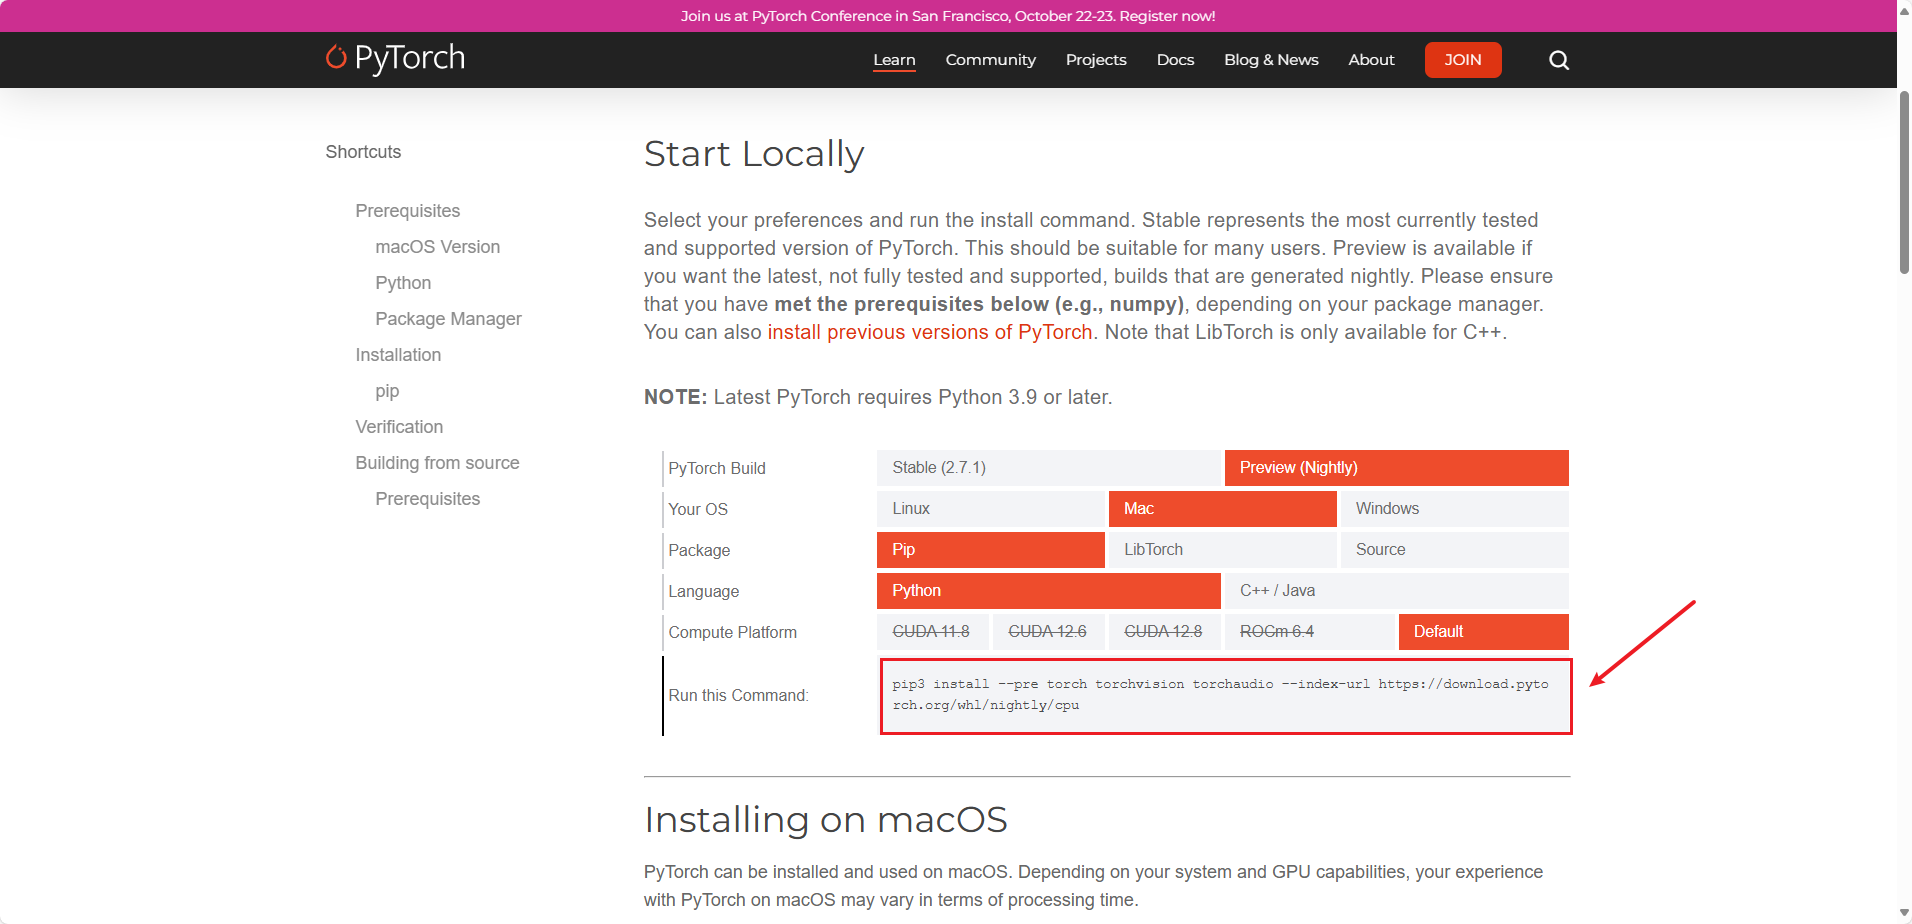
图1)
|
|
安装 ComfyUI 依赖
|
|
Building wheels for collected packages: sentencepiece
这是在尝试安装 sentencepiece 包时,构建失败。这个包通常用于大语言模型(如 LLaMA)中的分词器,但在某些系统(尤其是 macOS)上编译它会比较麻烦。
使用 Conda 安装预编译版本
|
|
启动 ComfyUI
|
|
下载 Flux
ComfyUI 基础入门教程本次安装的是 Flux.1 Dev GGUF 模型
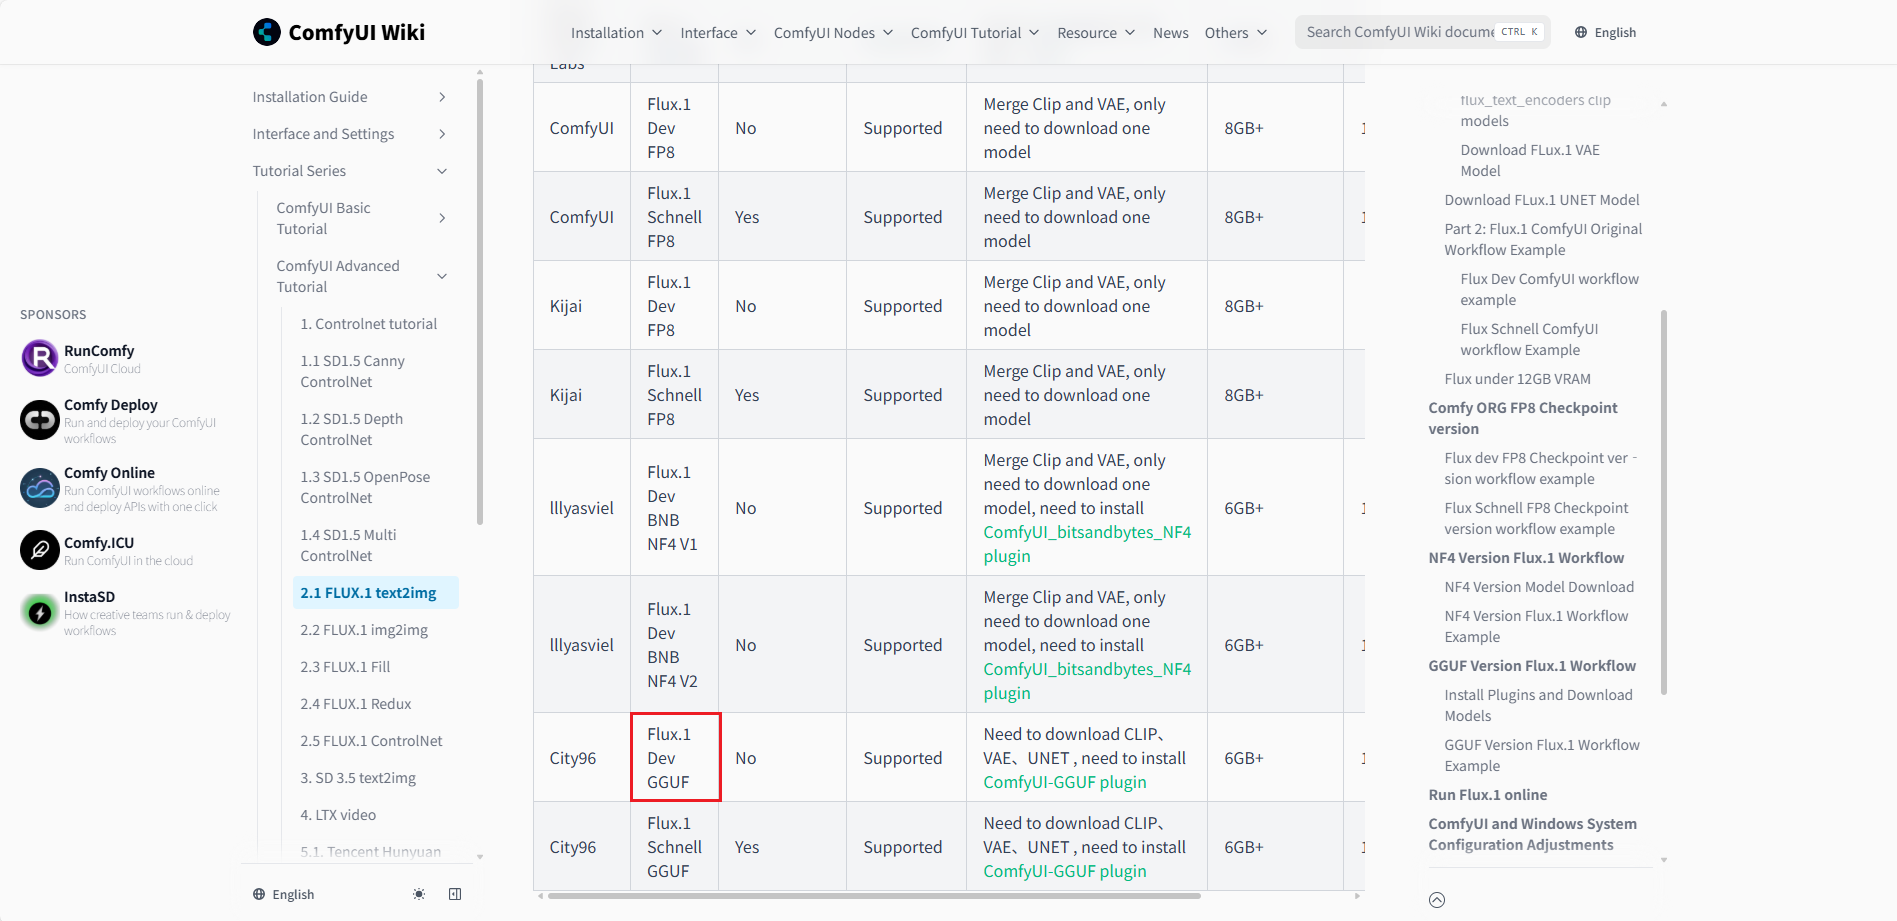
图2)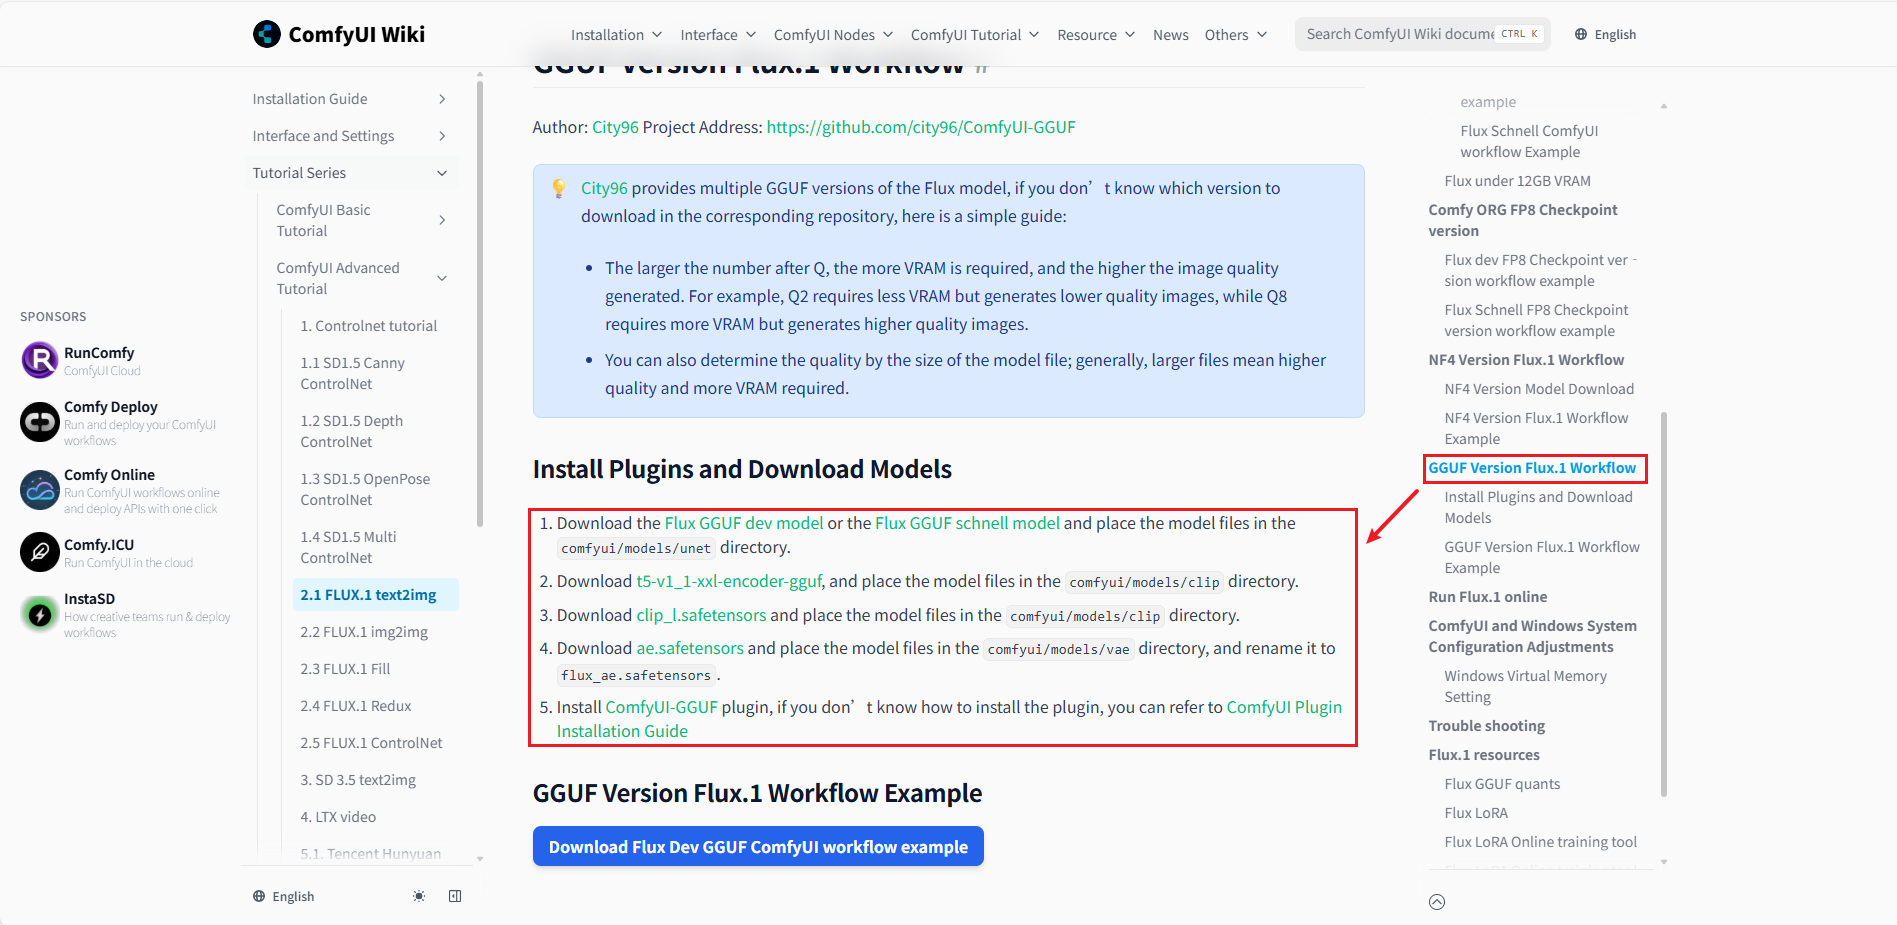
图3)第一步
Download the Flux GGUF dev model or the Flux GGUF schnell model and place the model files in the comfyui/models/unet directory.
安装 Flux GGUF dev model
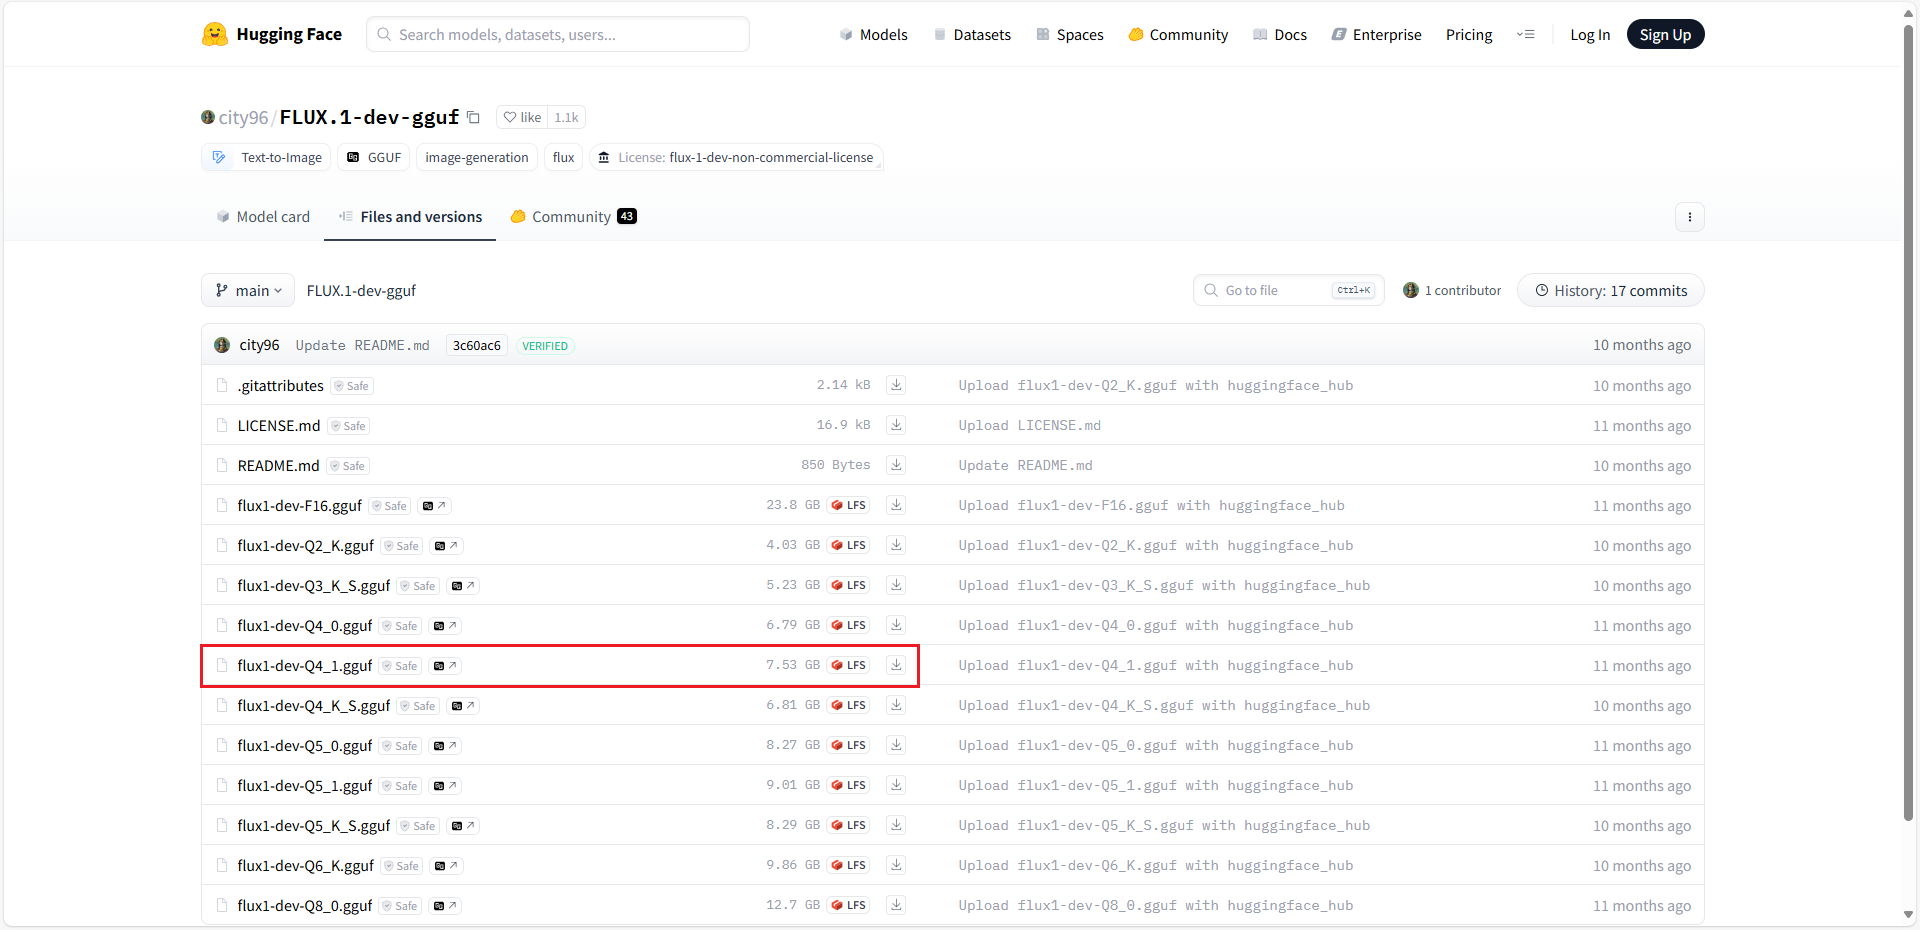
图4)第二步
Download t5-v1_1-xxl-encoder-gguf, and place the model files in the comfyui/models/clip directory.
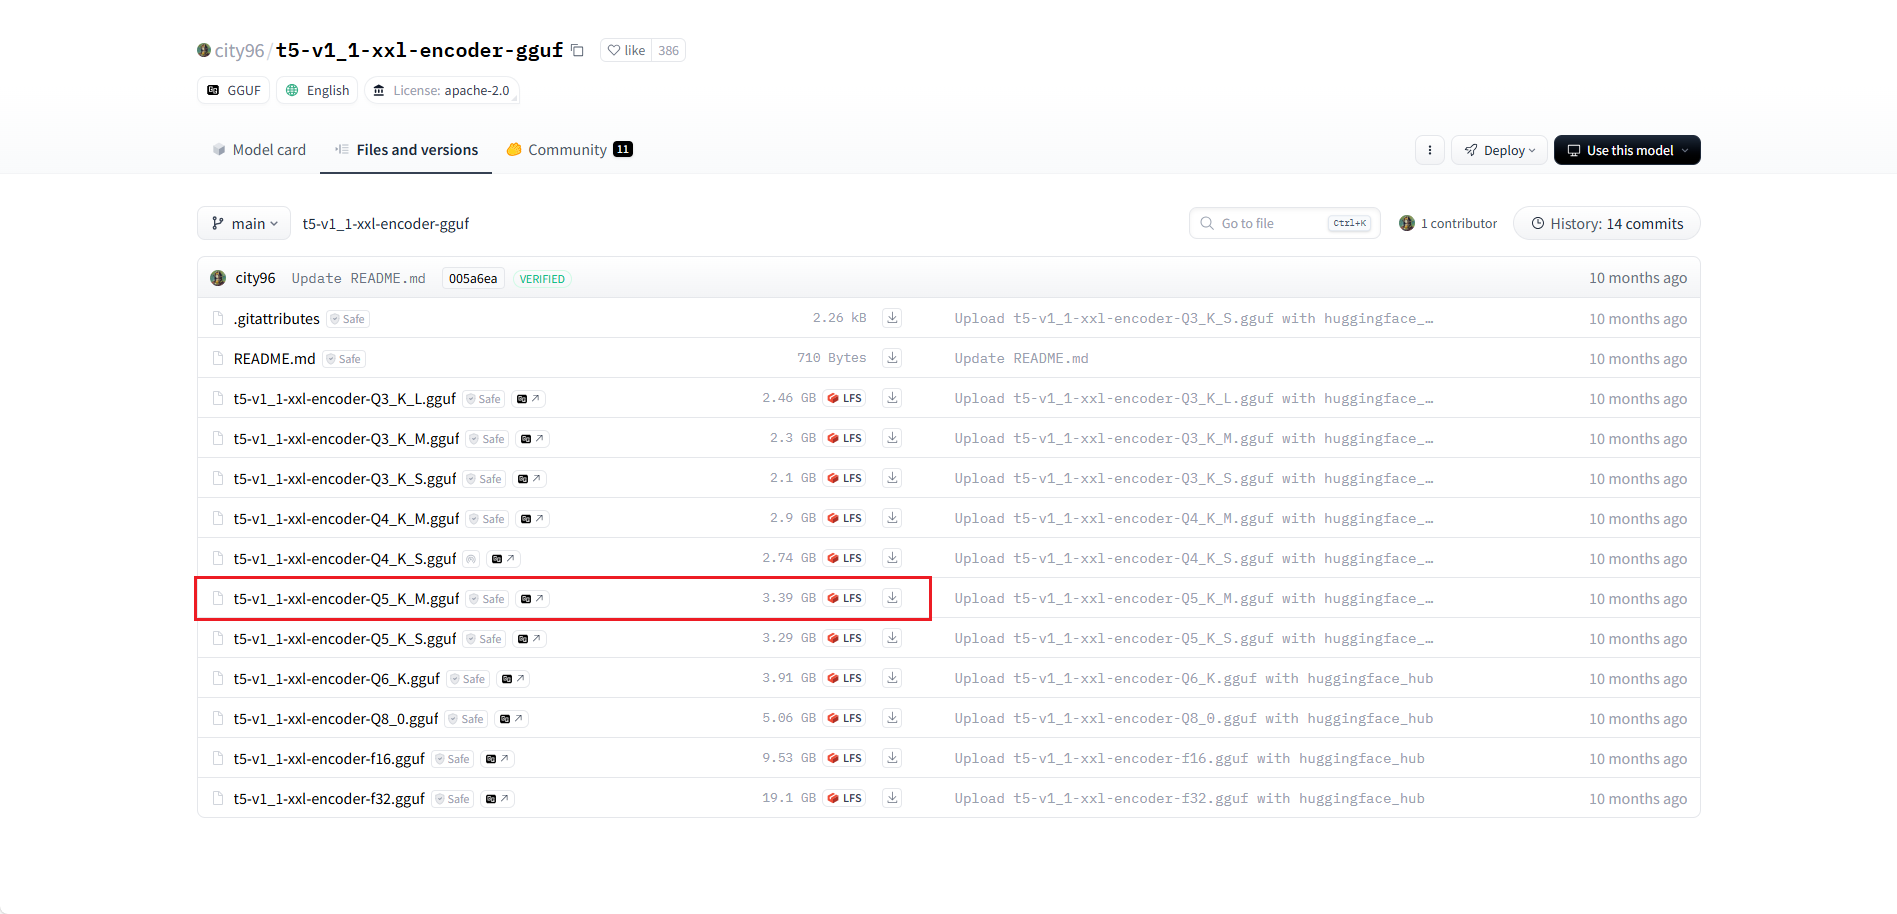
图5)第三步
Download clip_l.safetensors and place the model files in the comfyui/models/clip directory.
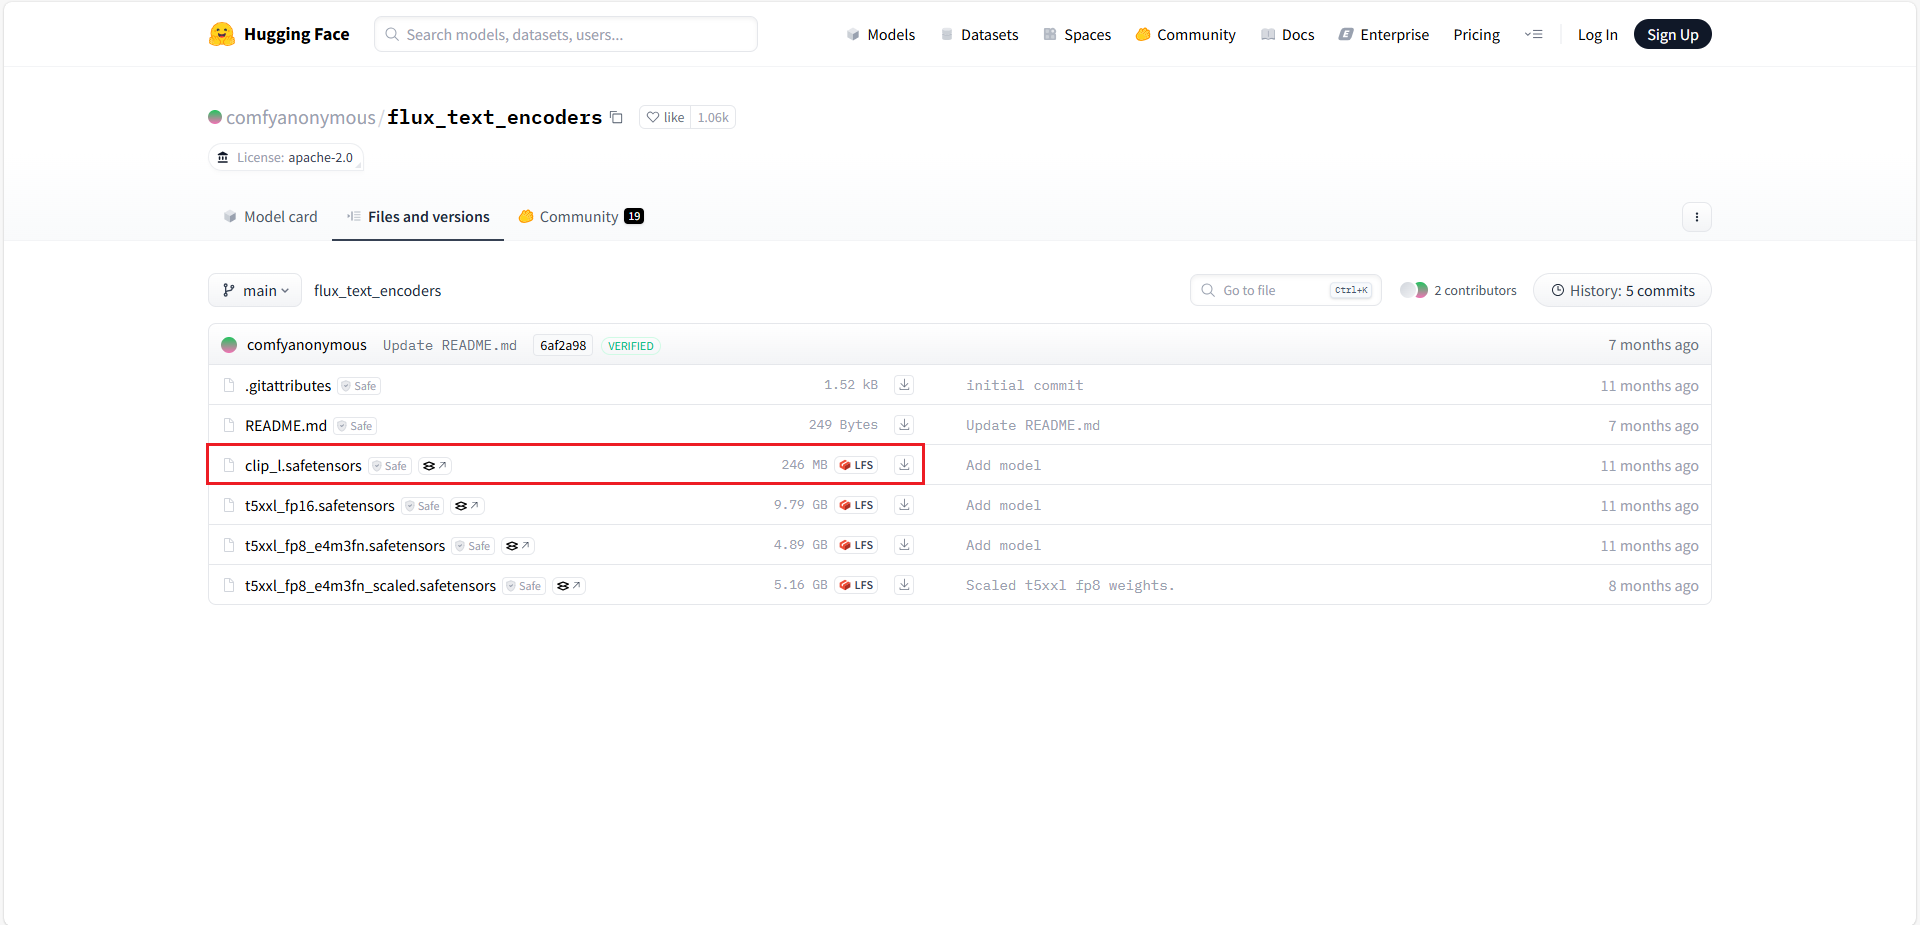
图6)第四步
Download ae.safetensors and place the model files in the comfyui/models/vae directory, and rename it to flux_ae.safetensors.
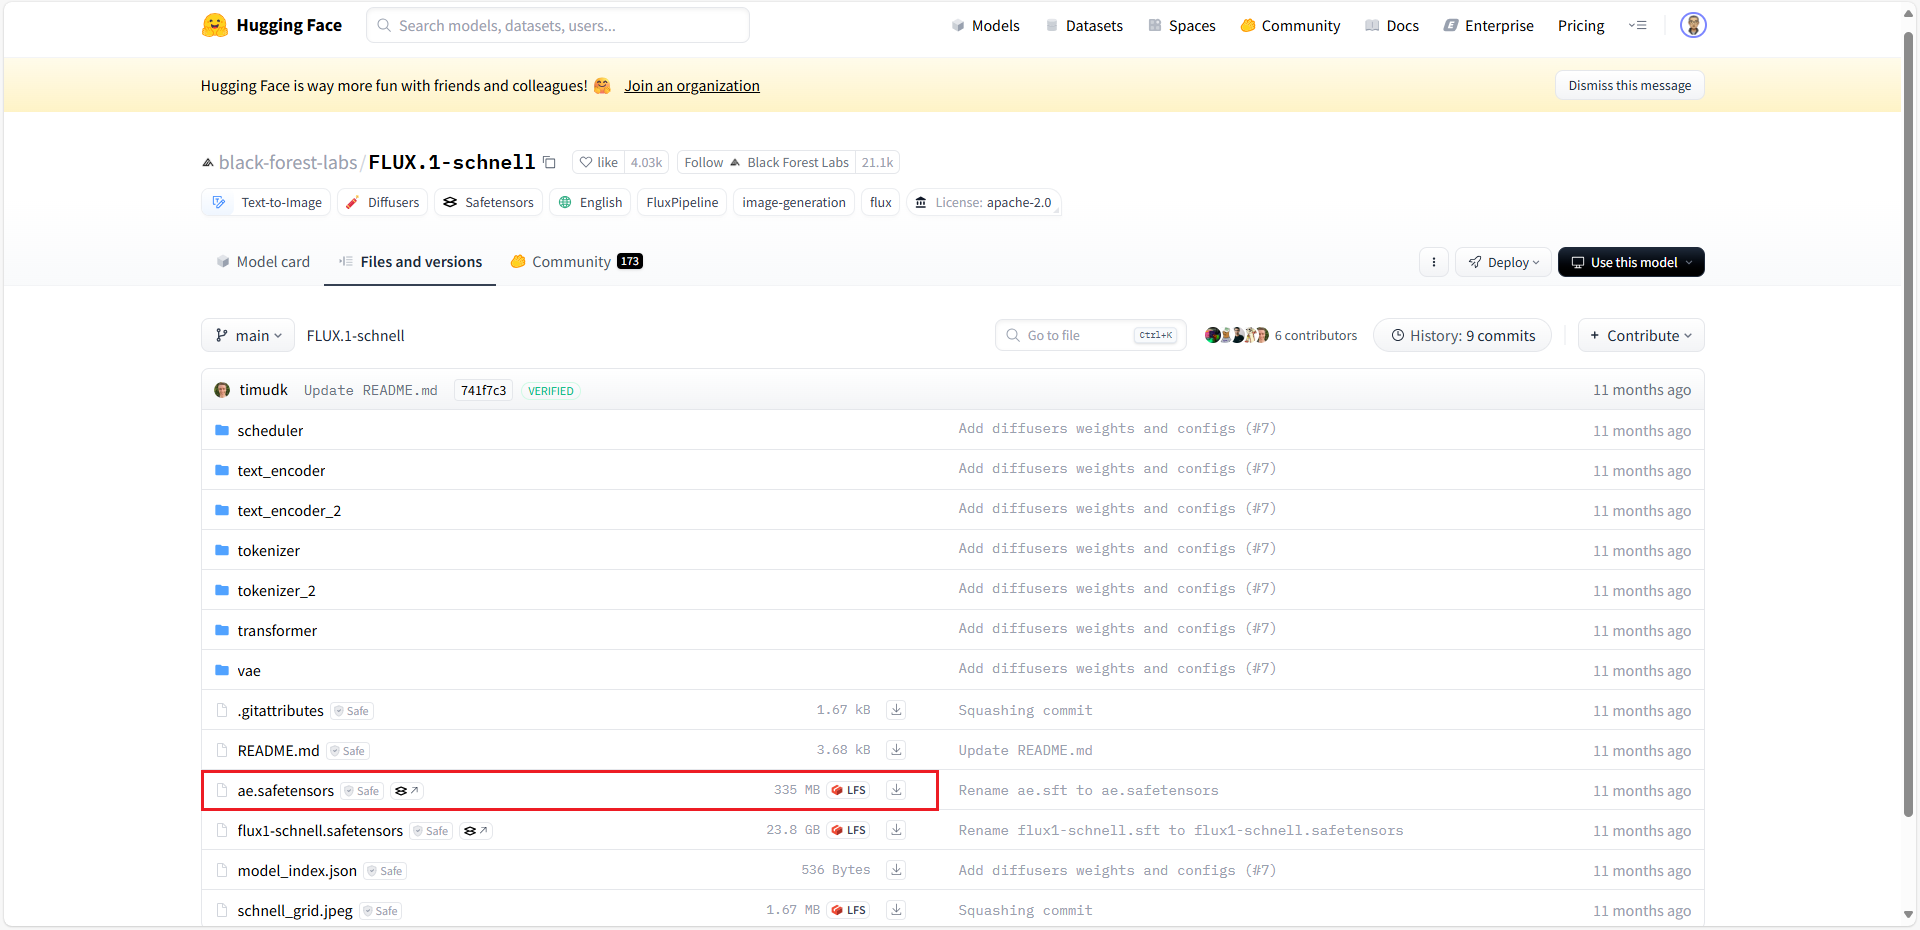
图7)第五步
Install ComfyUI-GGUF plugin, if you don’t know how to install the plugin, you can refer to ComfyUI Plugin Installation Guide
插件地址:ComfyUI-GGUF
|
|
workflow
访问 http://127.0.0.1:8818 进入到 ComfyUI 页面
下载示例工作流

图8)将下载的文件拖入到 ComfyUI 页面
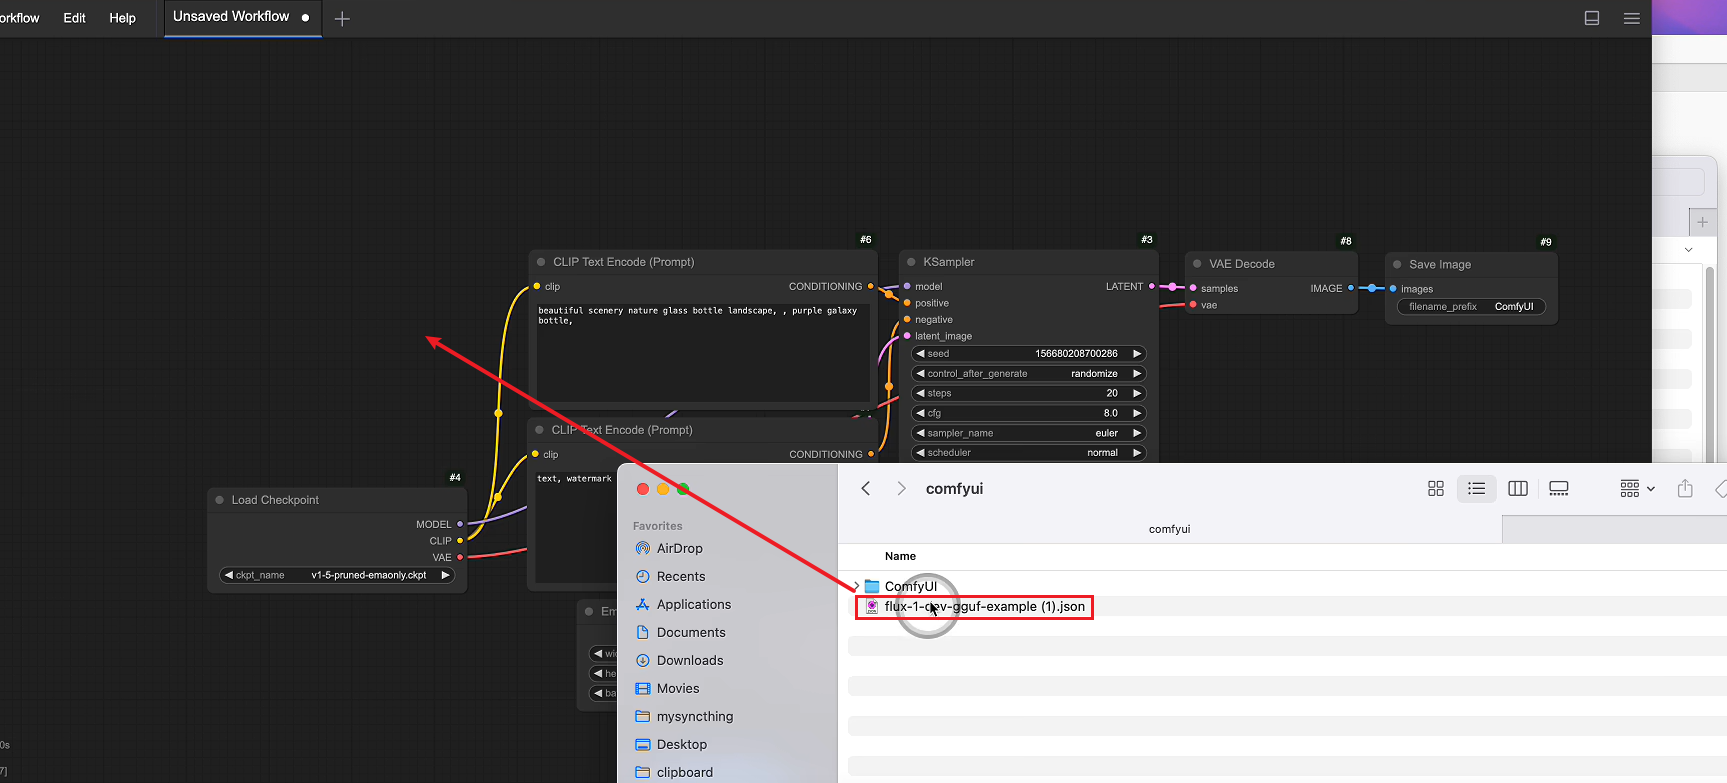
图9)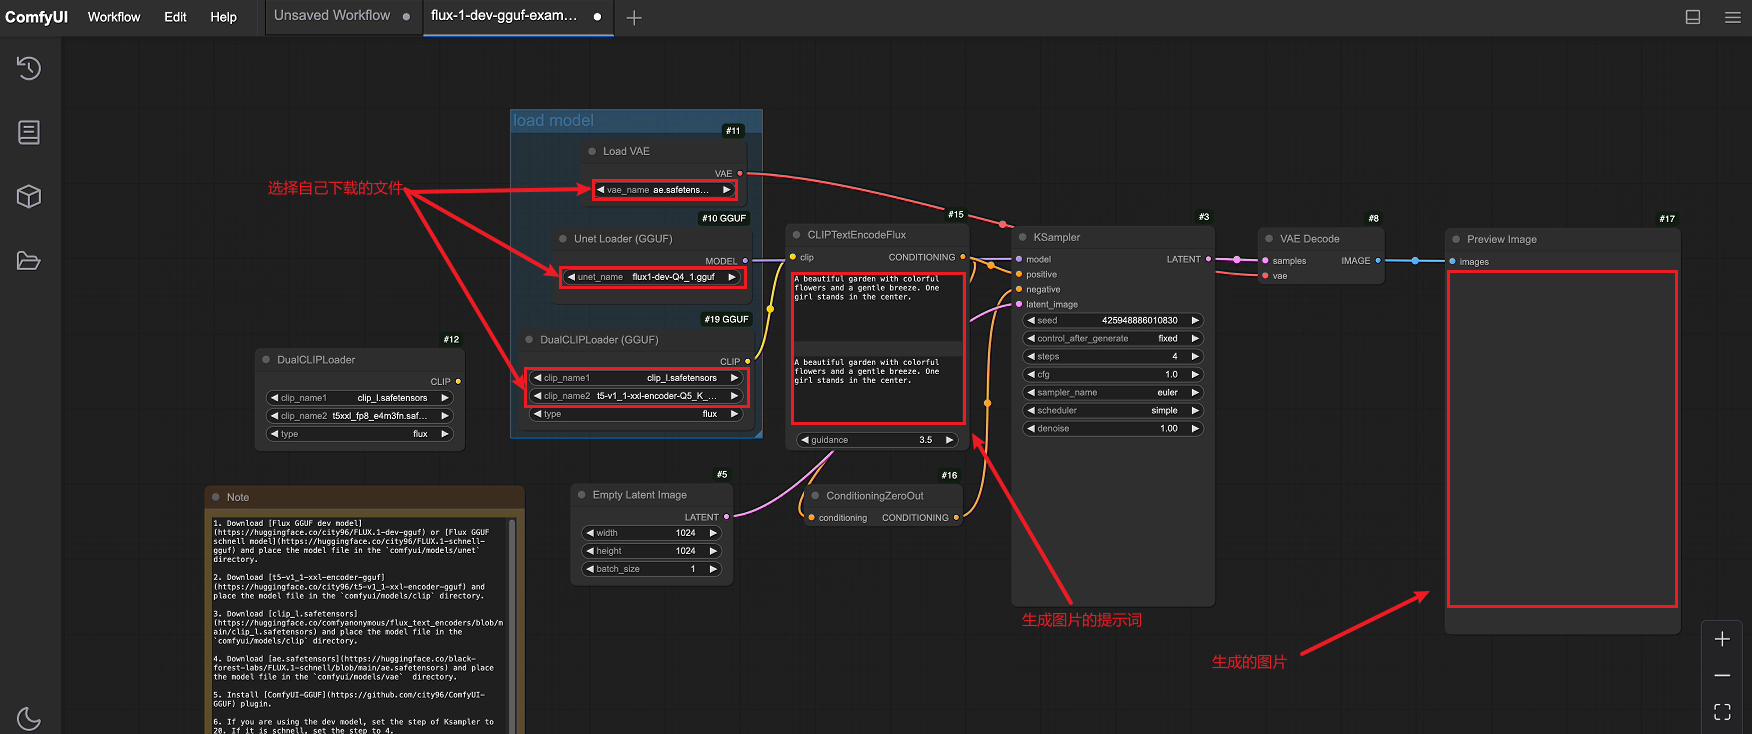
图10)lora
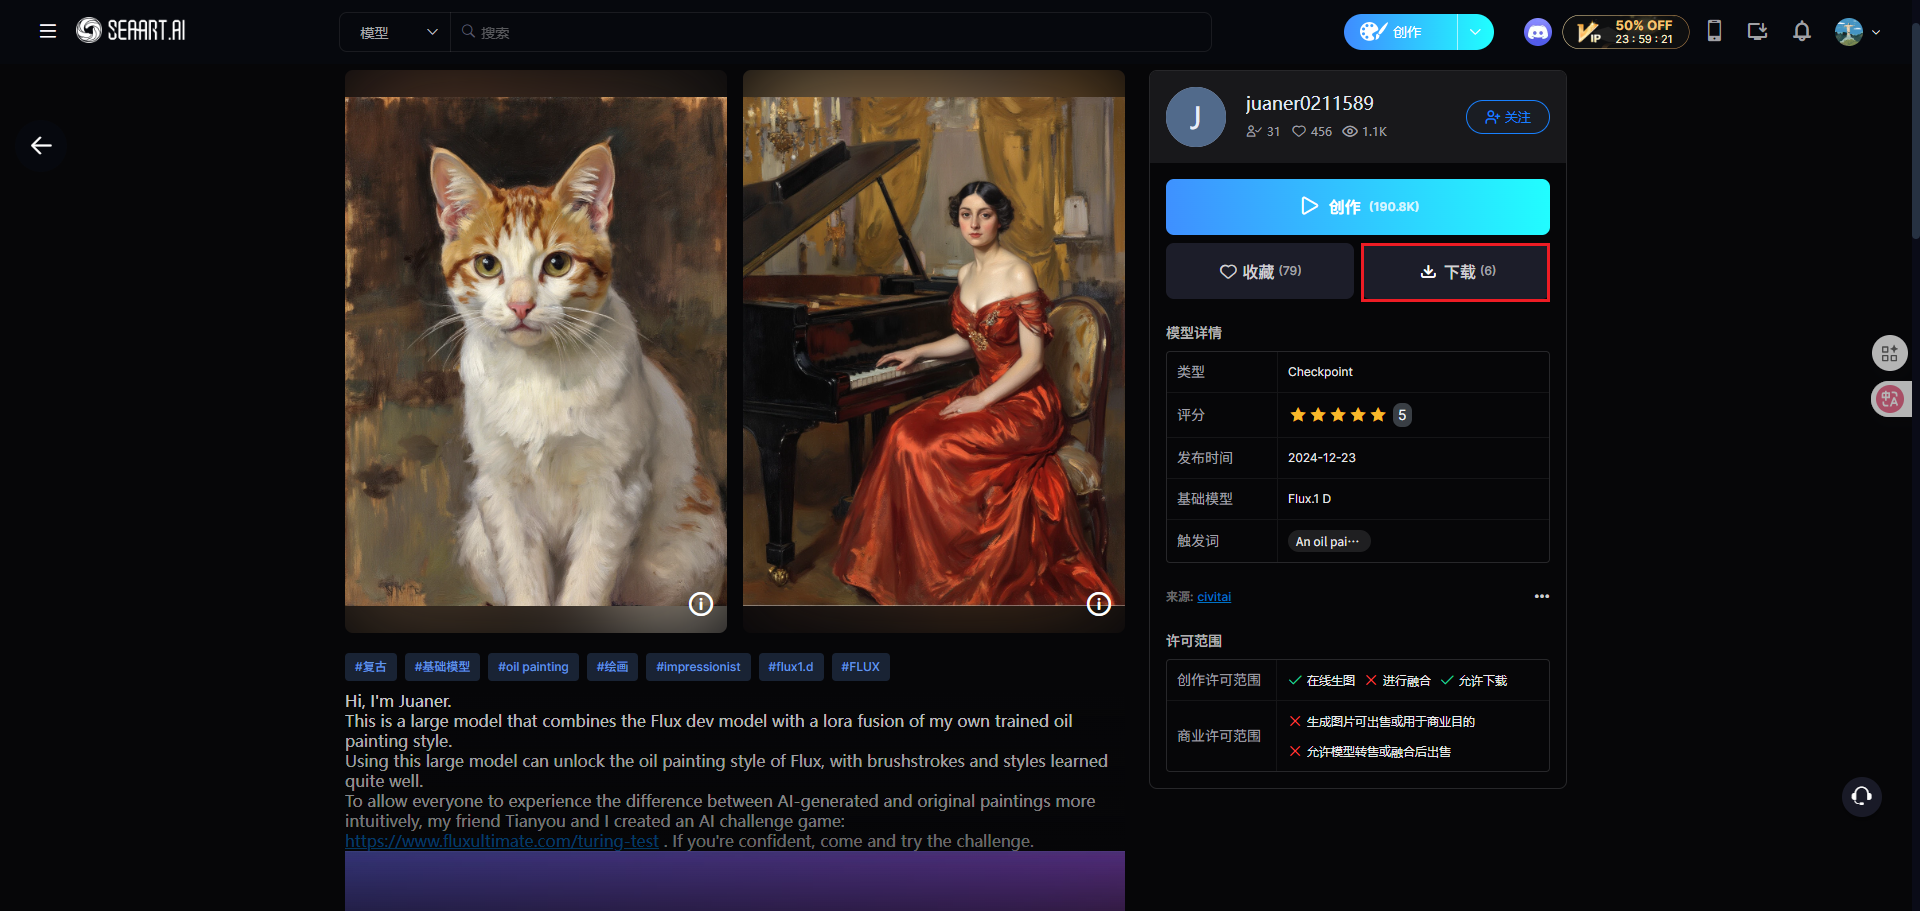
图11)可以在网站上找到自己喜欢的模型,下载下来放入到 ComfyUI/models/loras 目录下,可以把他理解为是一个皮肤,后续生成的图片都是这种风格的
添加 loras 节点
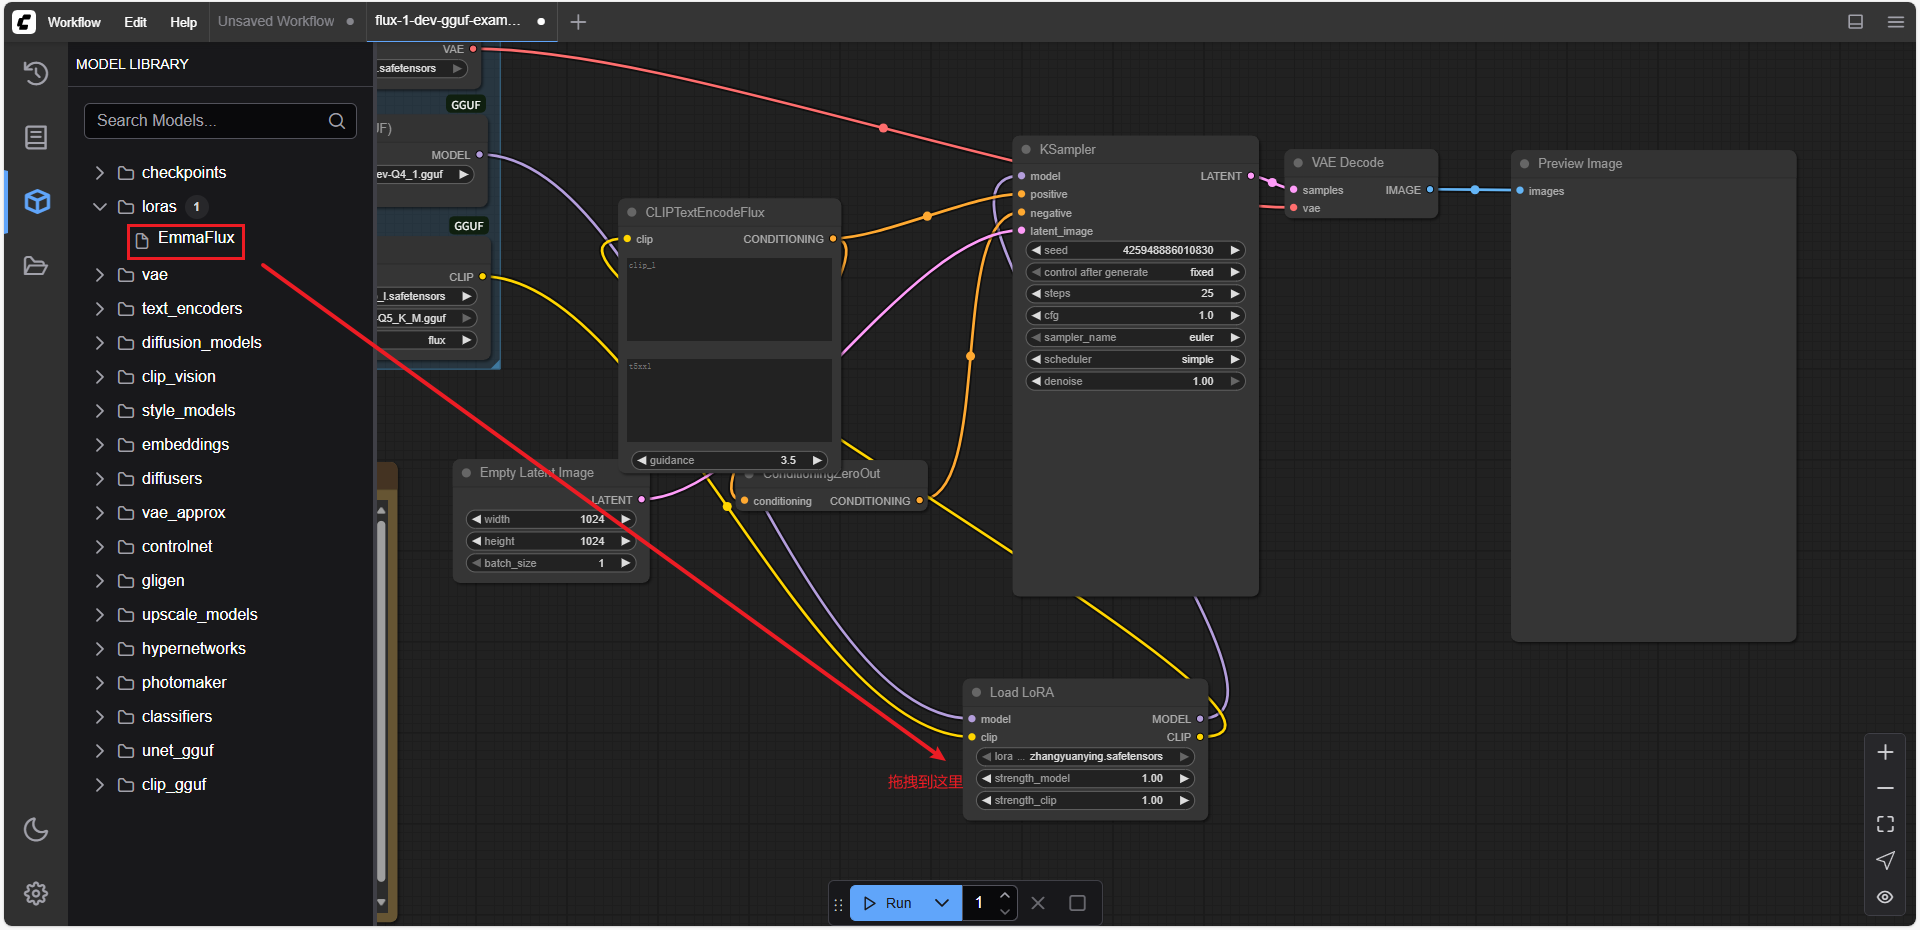
图12)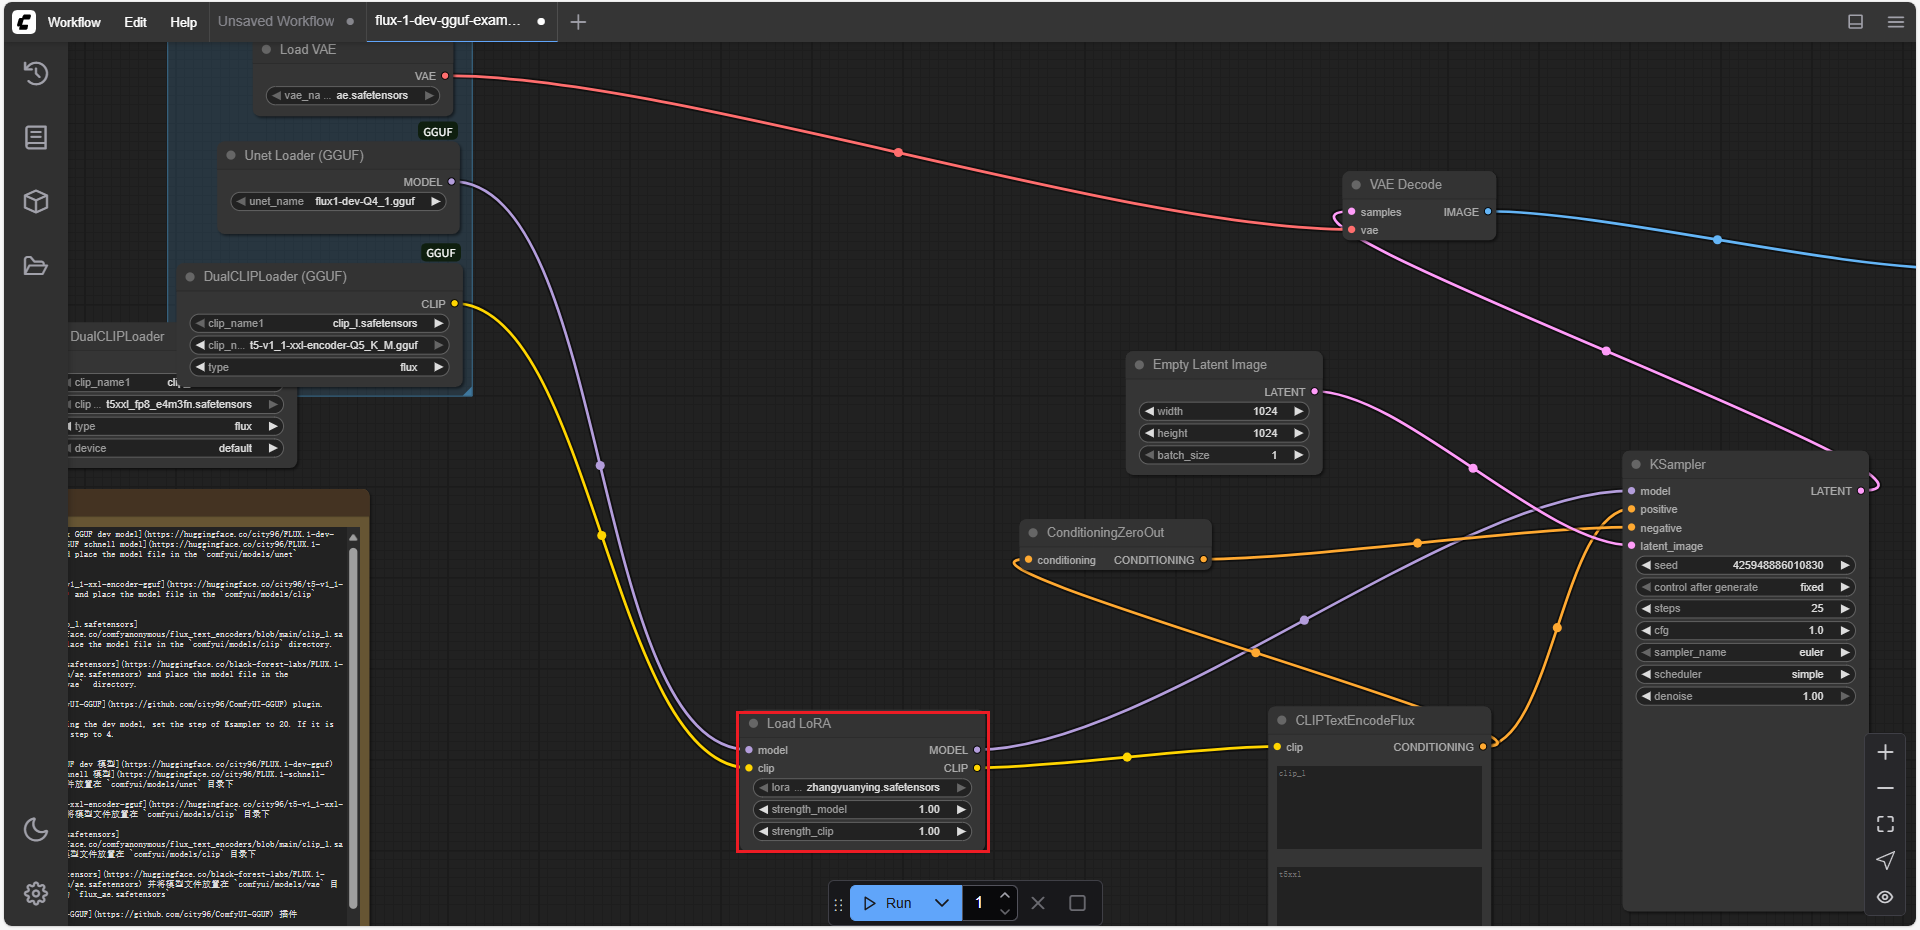
图13)